Tips and tricks
How to stitch teddy bear nose?
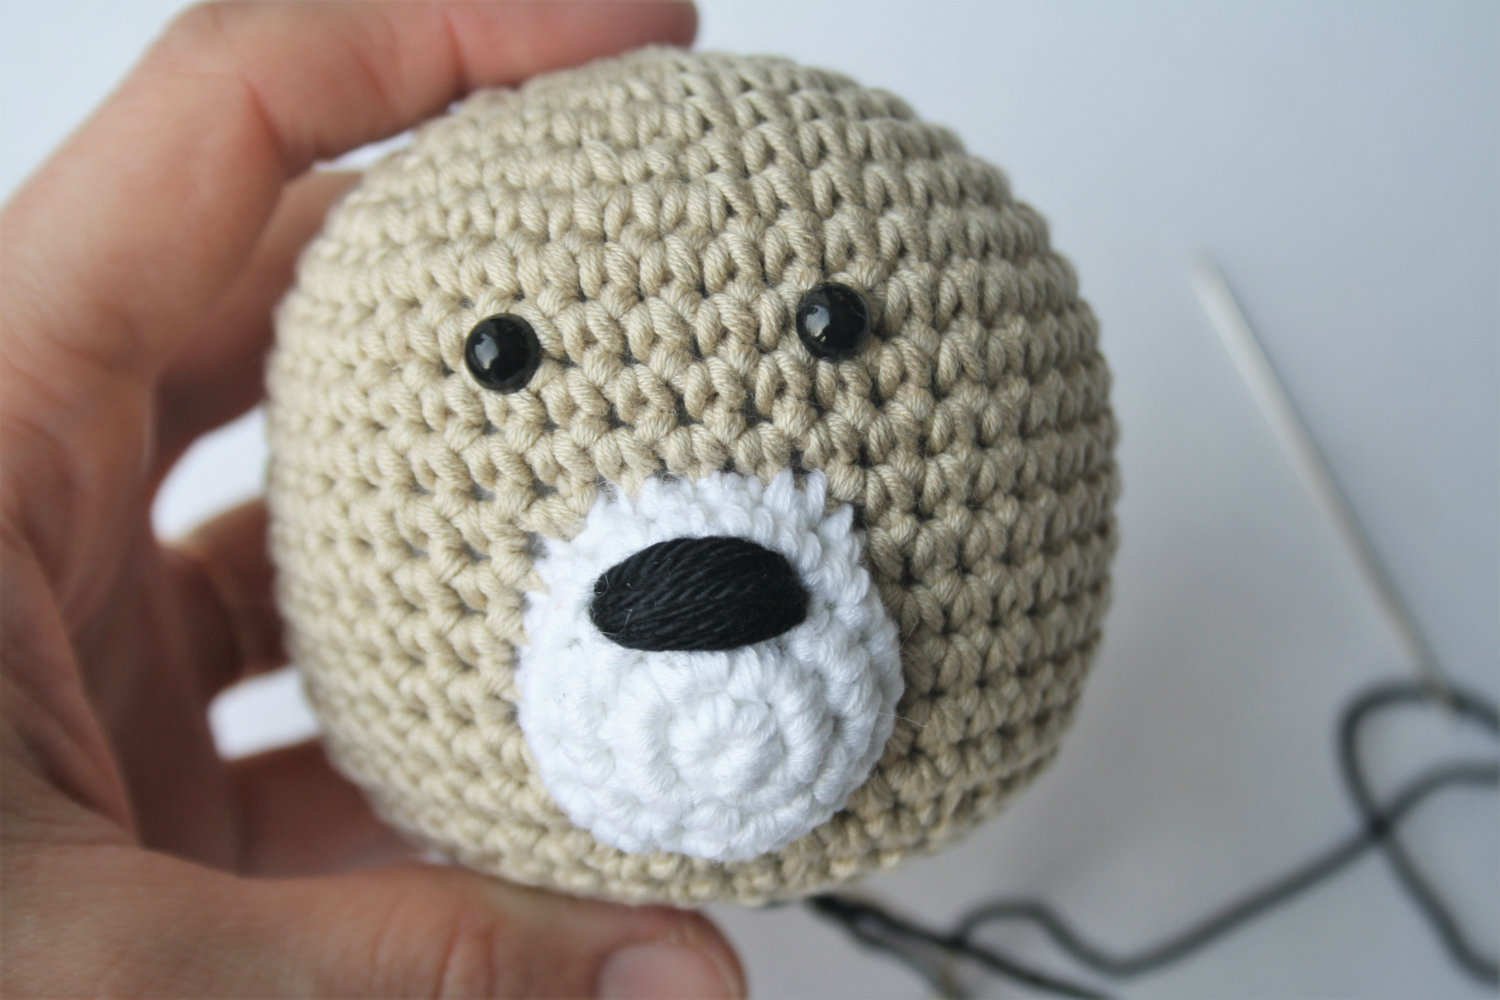
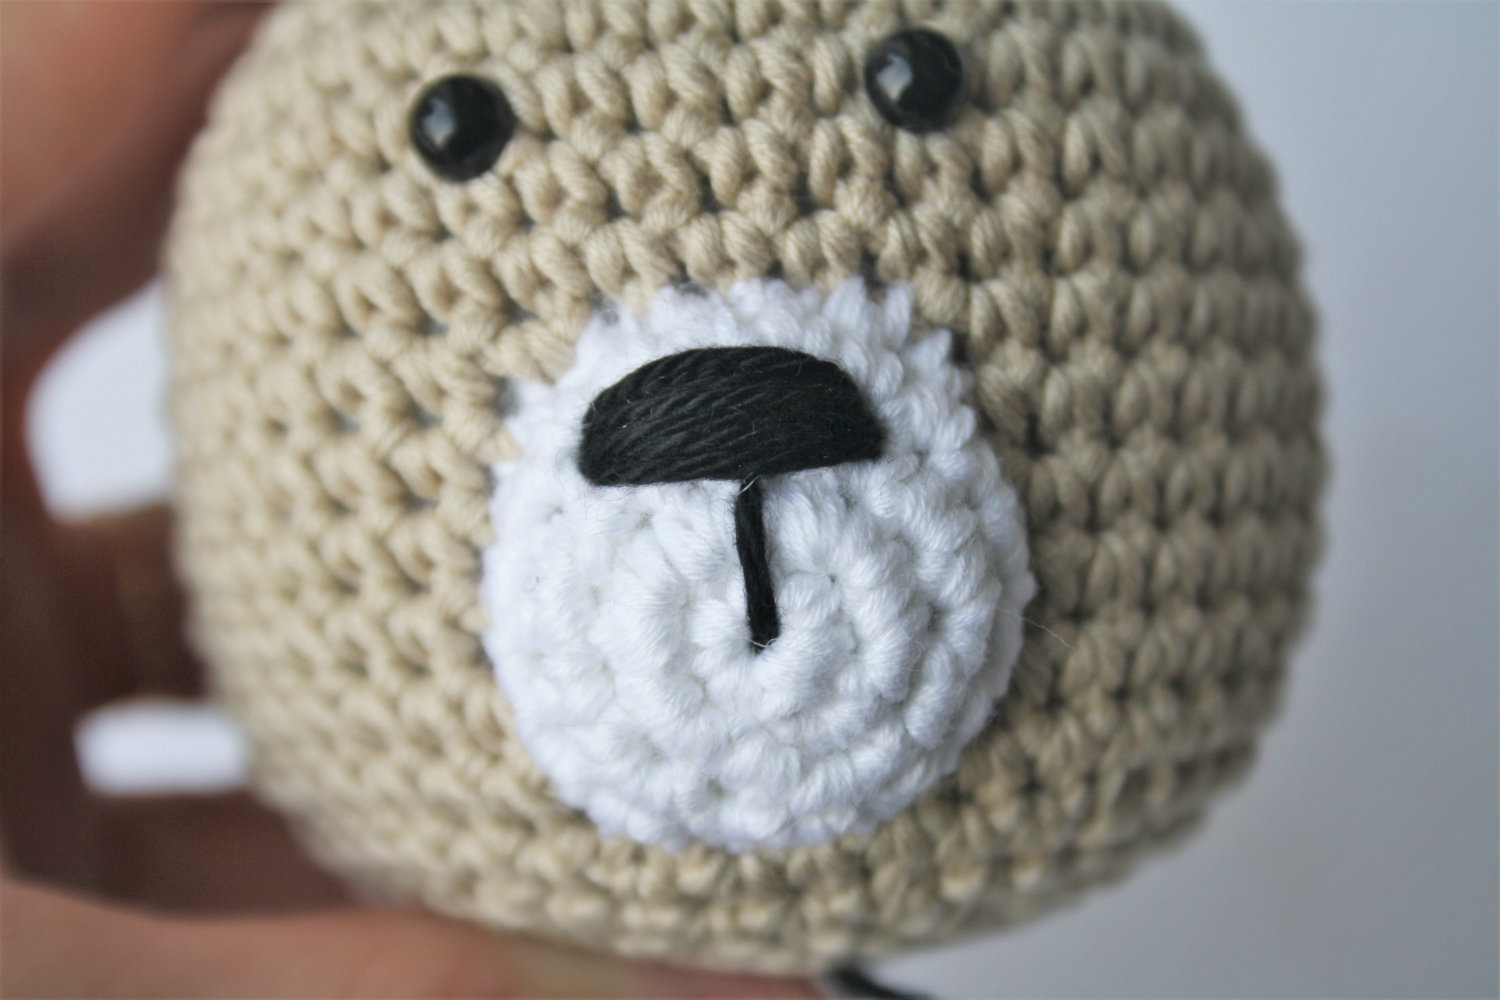
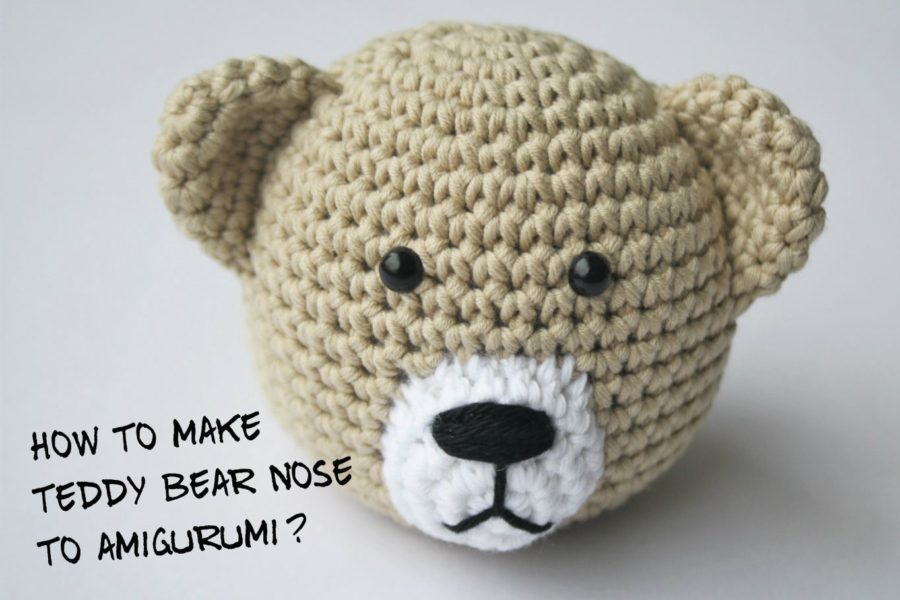
Here is a step-by-step tutorial of how I embroider the nose to my amigurumi animals, teddy bears, puppies etc. It`s going to be a horizontal nose because I find it the cutest one.
Supplies you`ll need:
- An embroidery needle
- Some yarn. I like to use 100% cotton yarn, for example “Capri” by Steinbach Wolle (Sport/5 ply; 50g/125m).
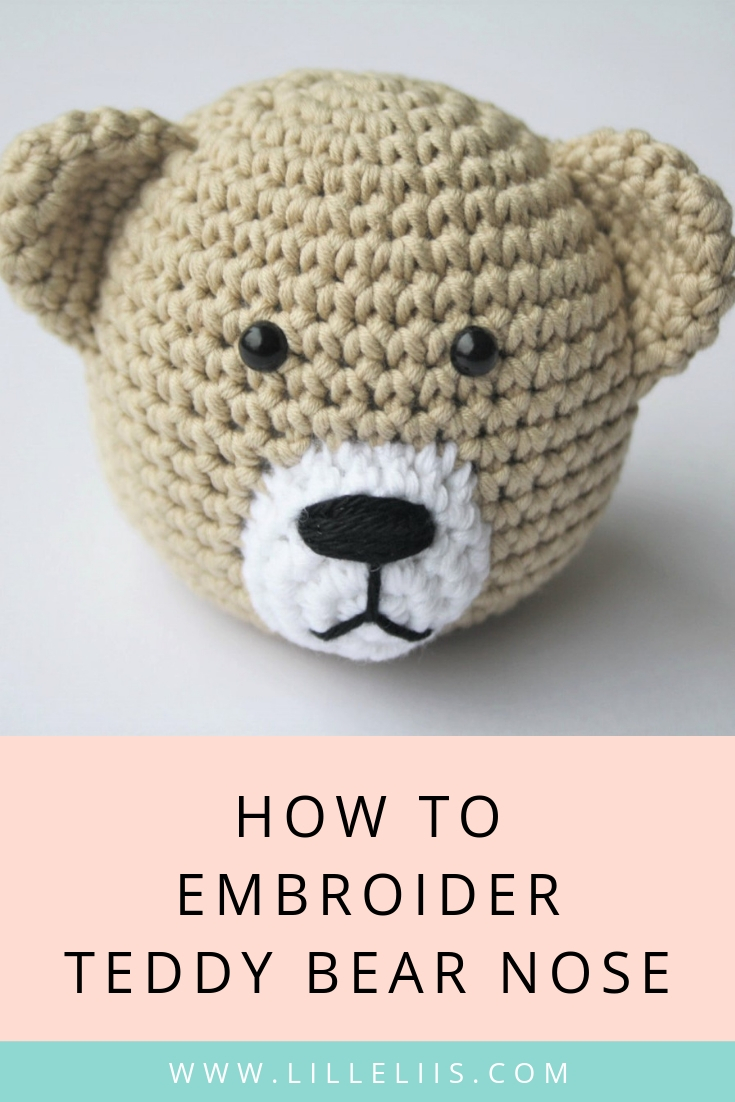
The final result is going to be this. It`s my Pajamas teddy.
So, how will you achieve a nose like that? See the step-by-step instructions below :)
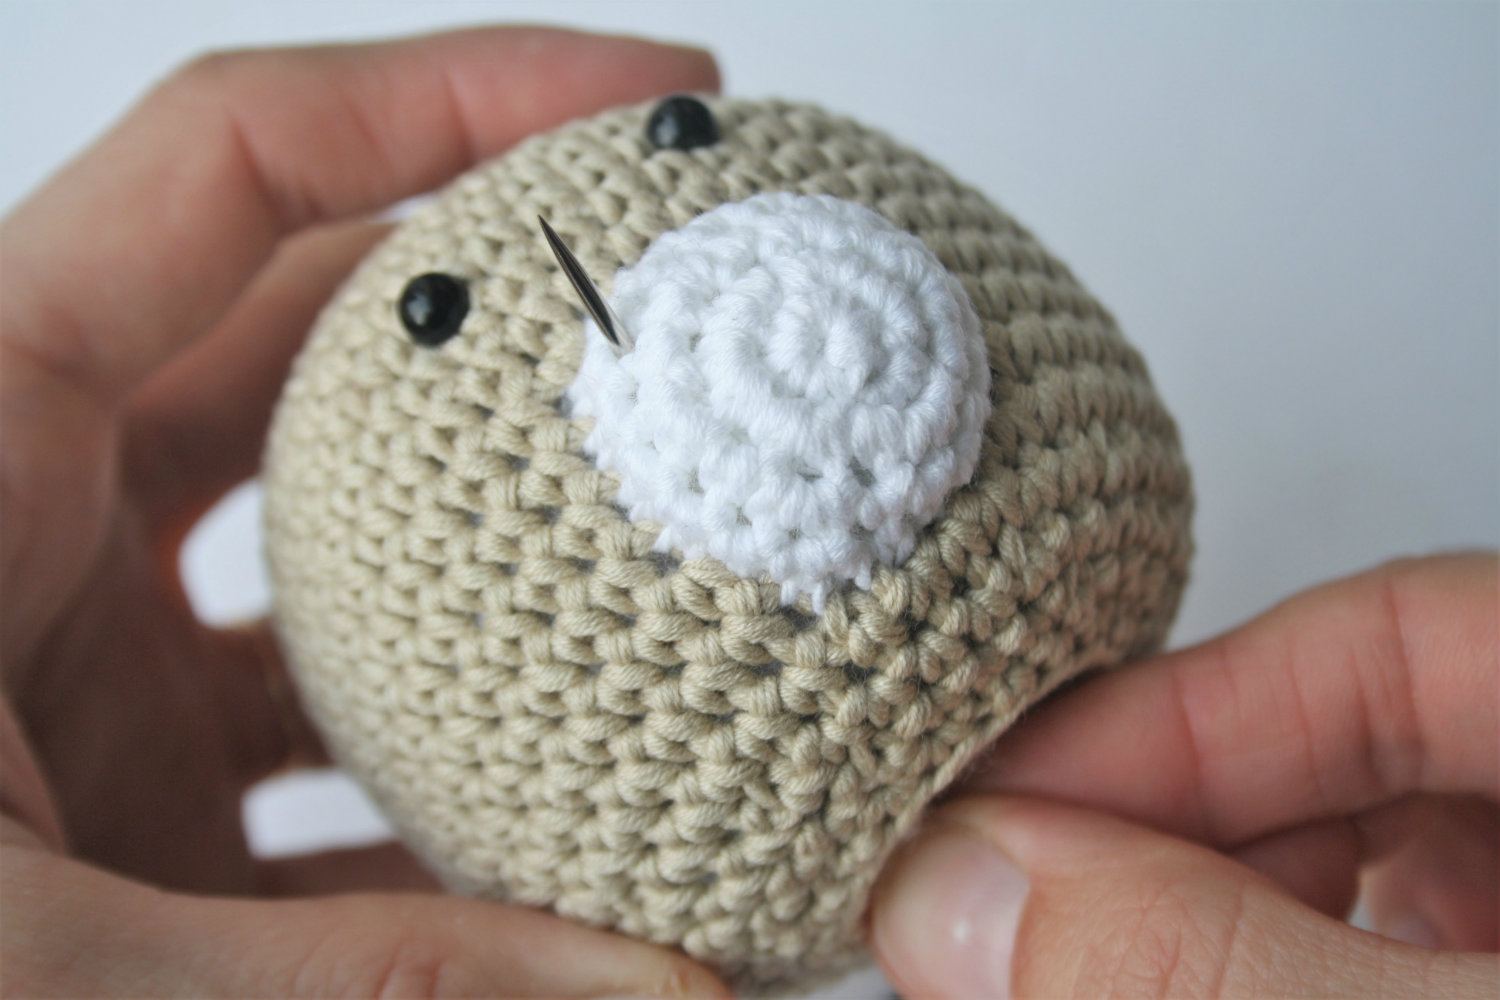
If your toy has a muzzle sew it on first. If it doesn`t, then you can stitch the nose right on it`s head.
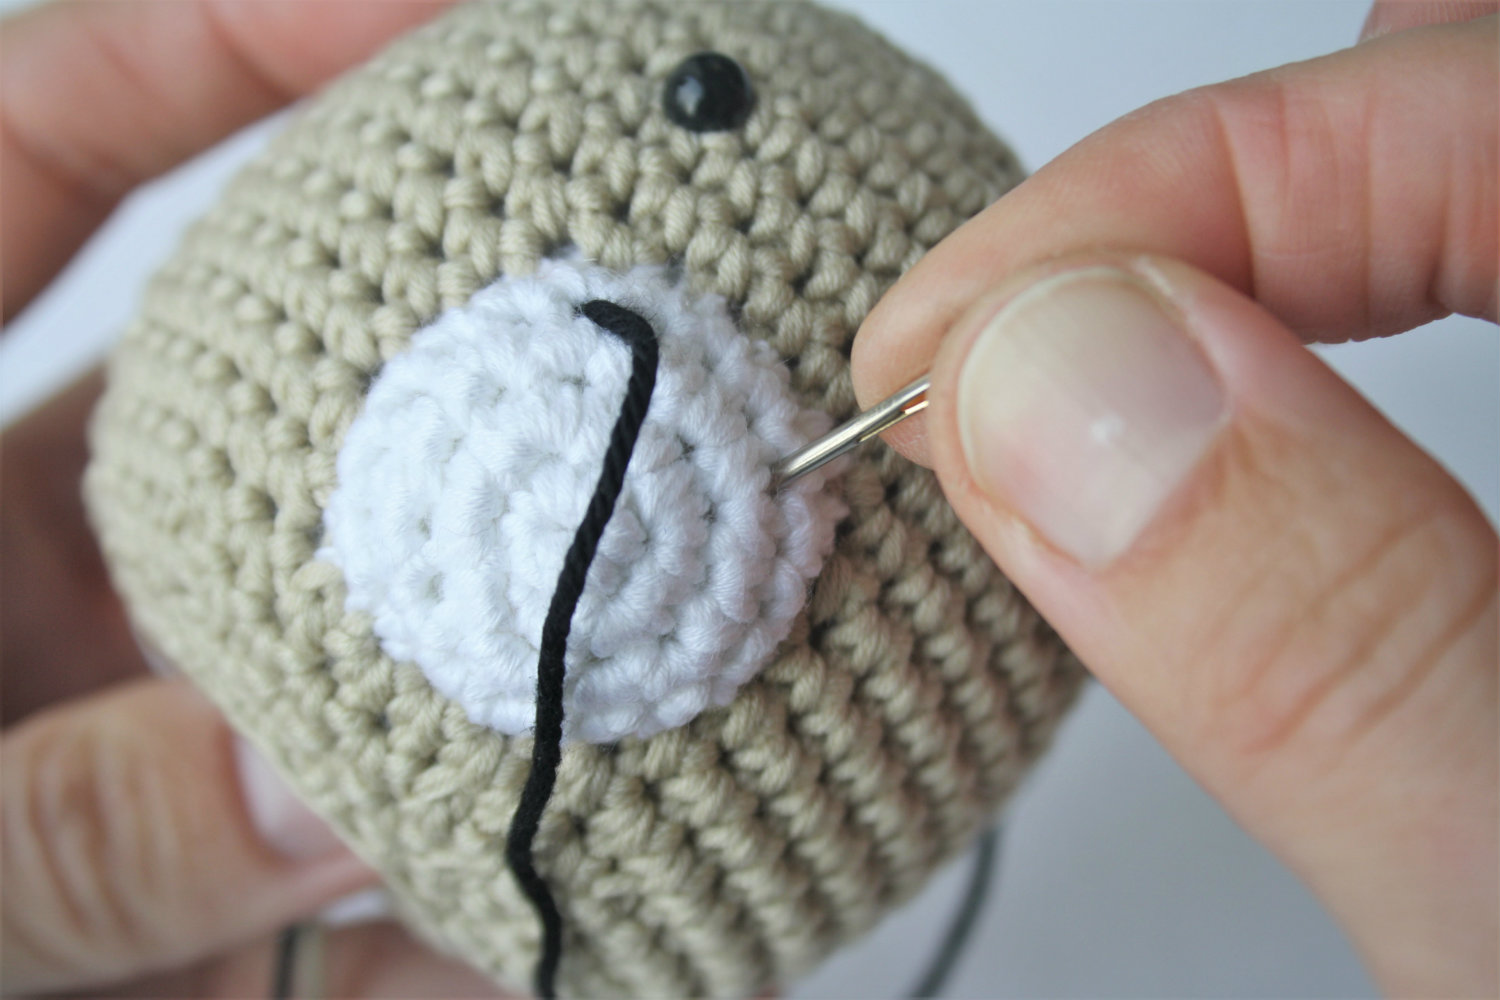
1. Insert the needle at the open part of the head and bring it out where you want to start the nose.
2. Insert the needle where you want to end the nose and bring it out at the open part of the head.
With the first stitch you have set the placement and width of your teddy bear nose.
3. Give thickness to the nose by bringing the needle in and out from the same stitches until it`s full enough.
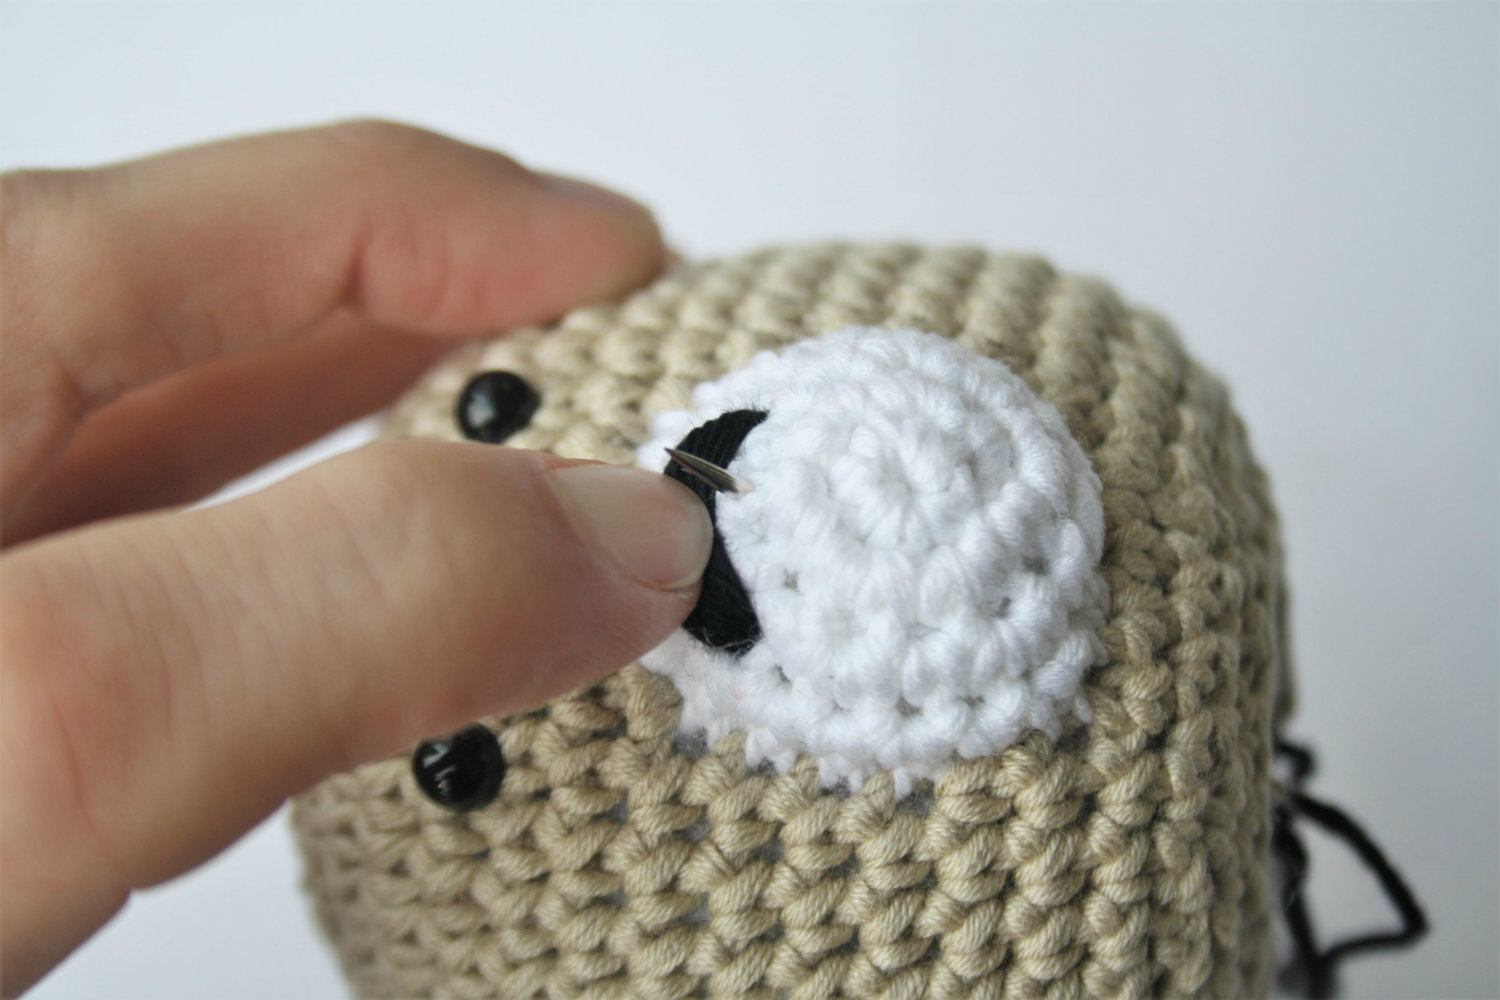
4. With your nail or finger pull the nose slightly upwards, at the same time bring the needle out right in the center of the nose. Do it really carefully not to harm the stitches!
Insert the needle somewhat lower and release the nose.
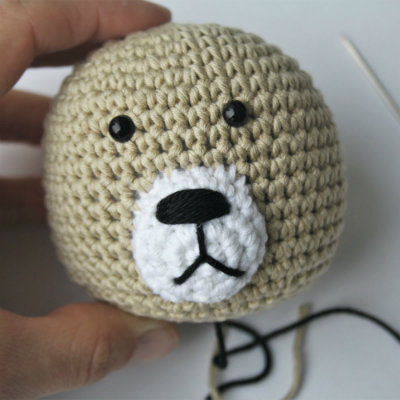
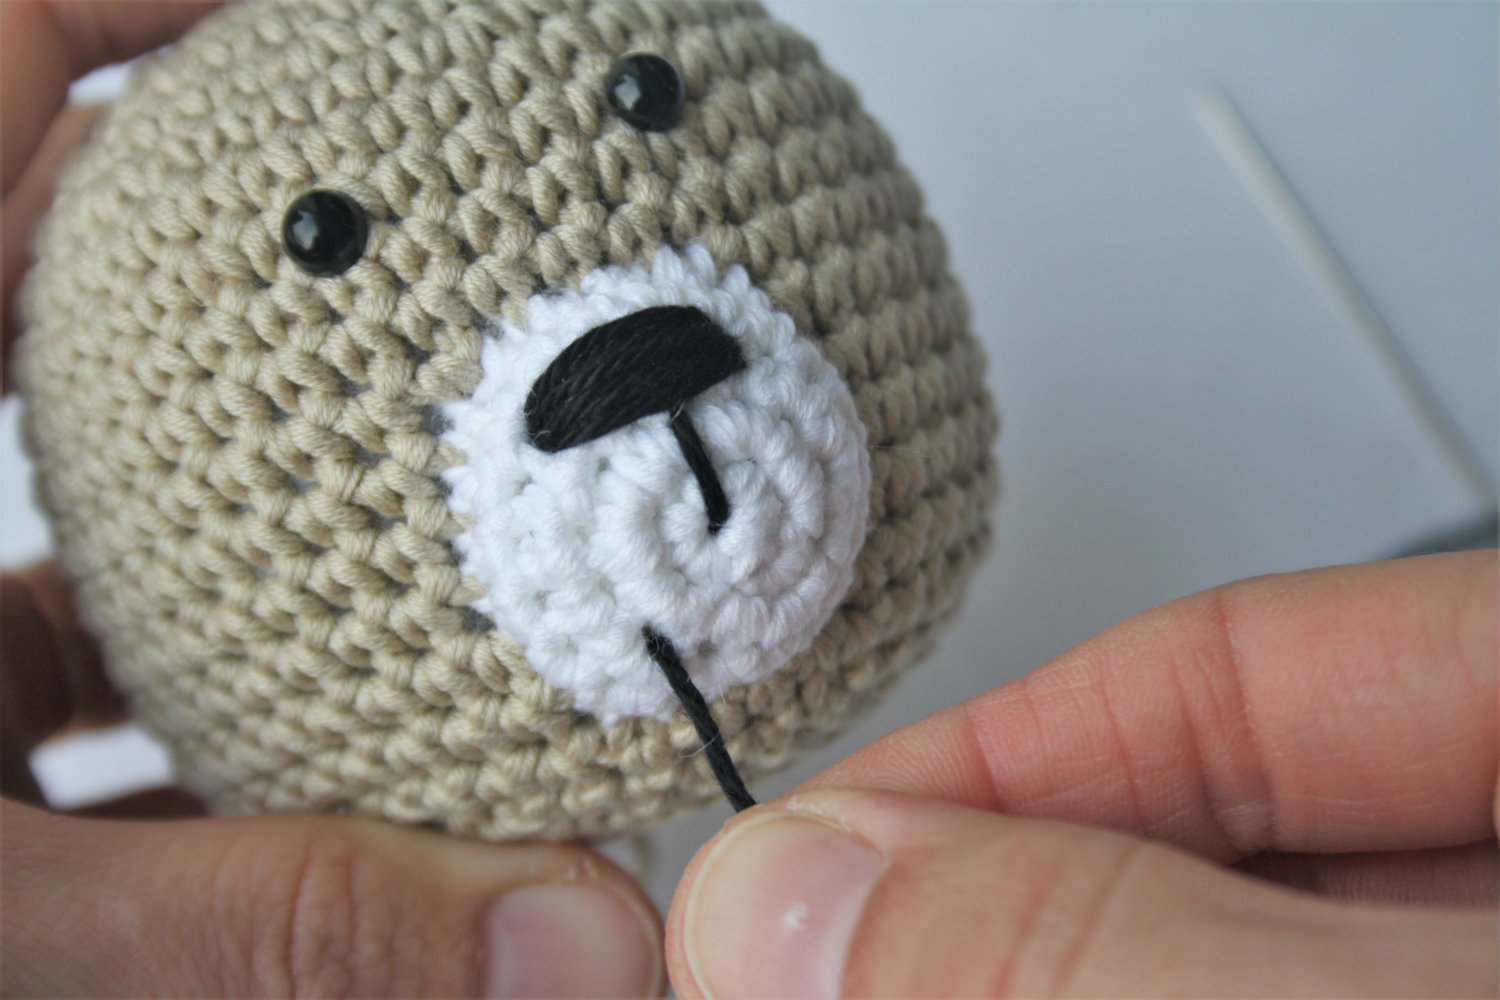
Now you have a T nose and you can leave it like that if you like. Or you can add a mouth as well. See the next steps.
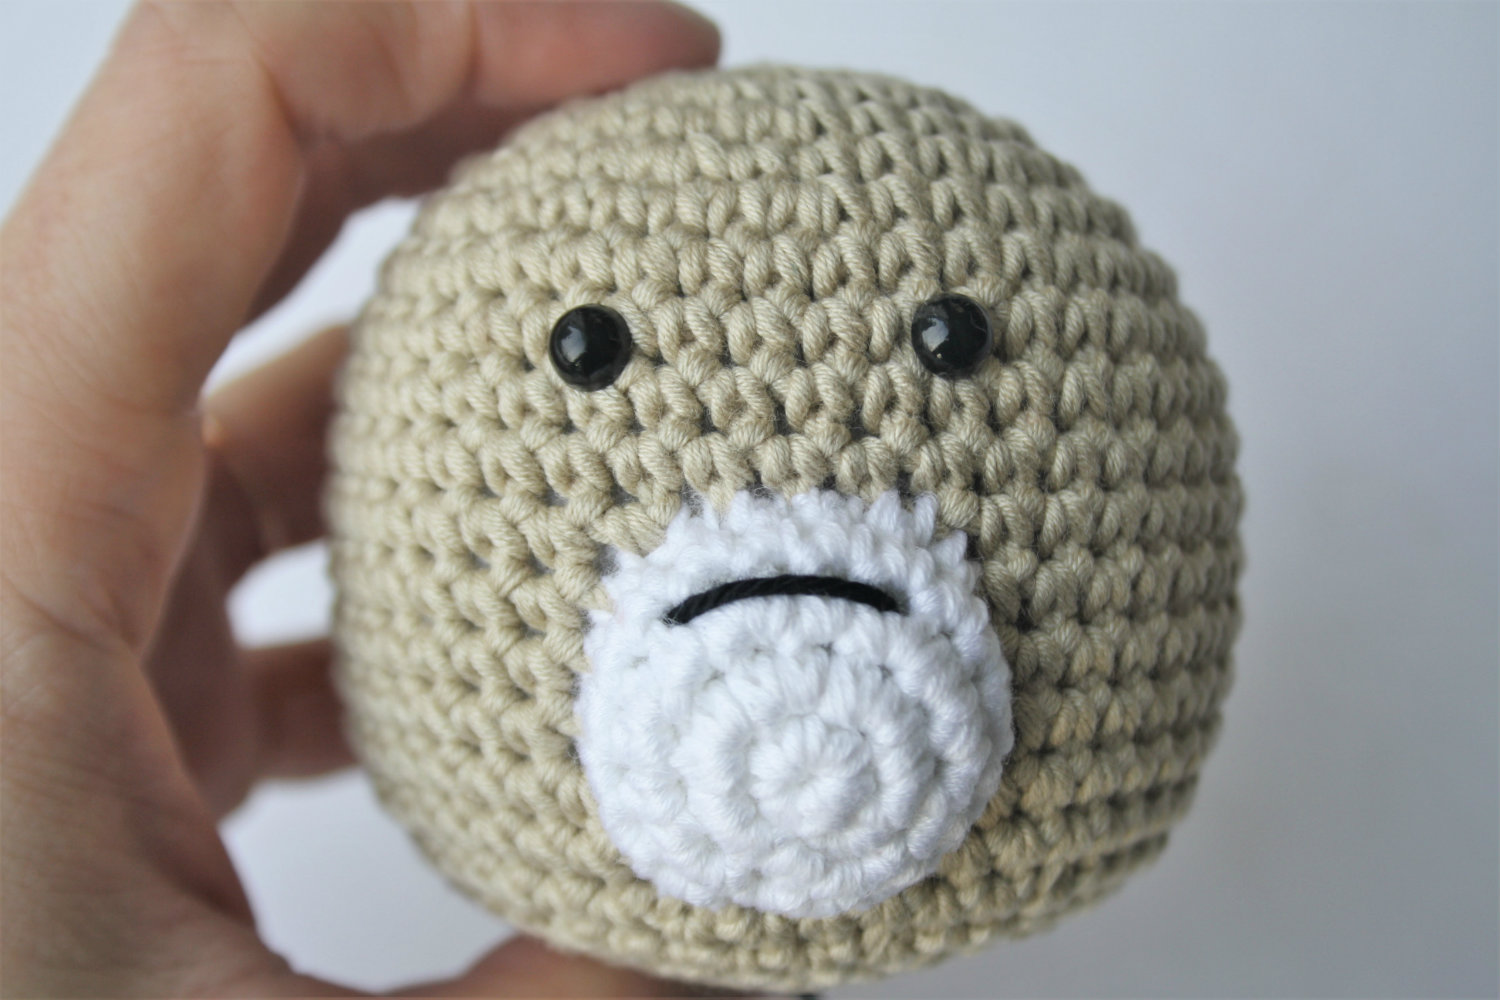
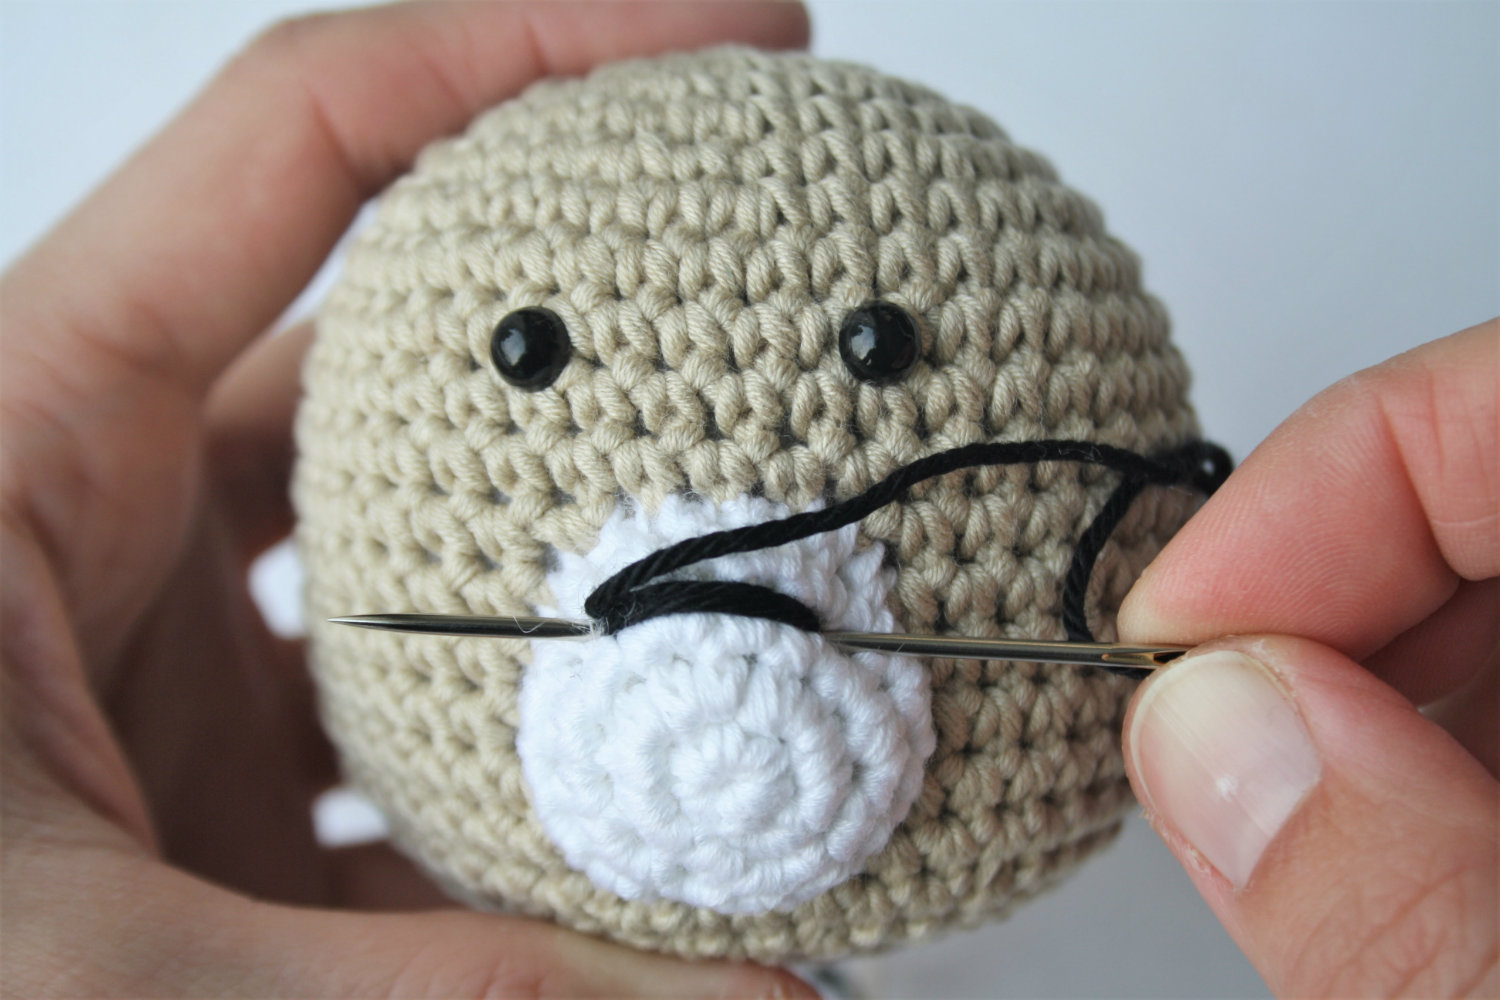
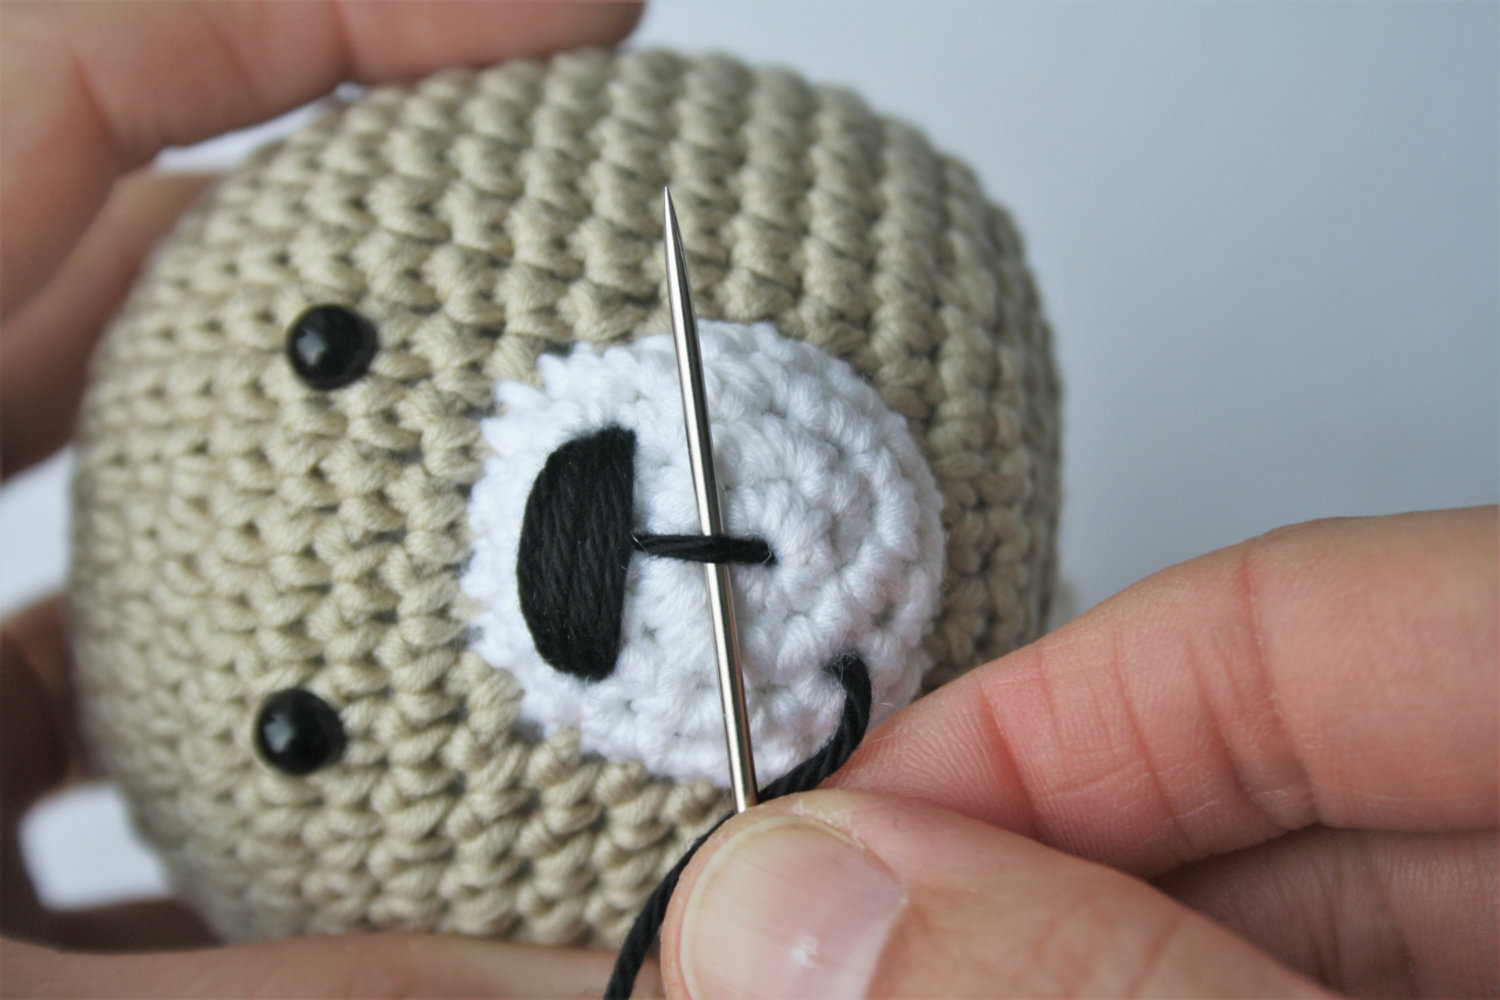
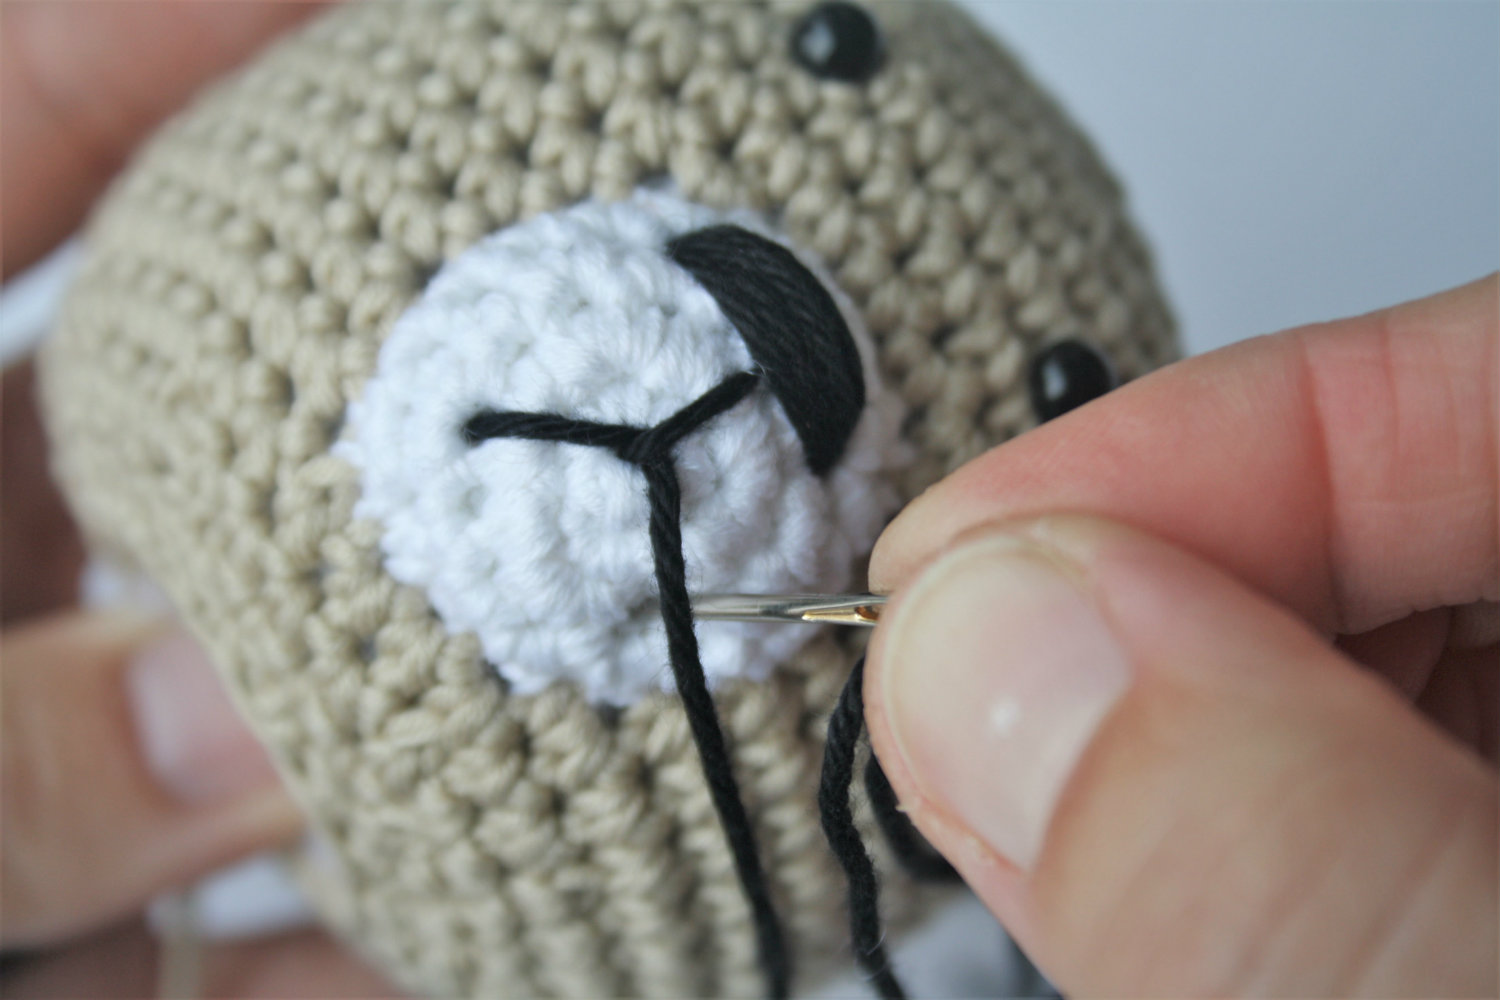
5. The mouth will be an up side down V, so bring the needle out on the left lower side of the muzzle.
With the help of the needle simply lead the yarn behind the center stitch and insert it on the right lower side of the muzzle.


I’ve been crocheting for more than 50 years. This is by far a great tutorial and so very easy! Thank you so much.
Thank you for the tutorial love it going to try it on my Teddy‘s… I never could sew…!! And I Have been so afraid to ruin all my hard work and love that went into these..!! Thank you again your tutorial is very helpful❤️
How do you know where to place the ears on the small cat with joined legs. Pls
You simply try different positions and choose your favourite one :) I think I have left about 5 rounds on either side of the starting magic ring free.