Tips and tricks
Crocheting amigurumi pieces together – tutorial (video)
Mar
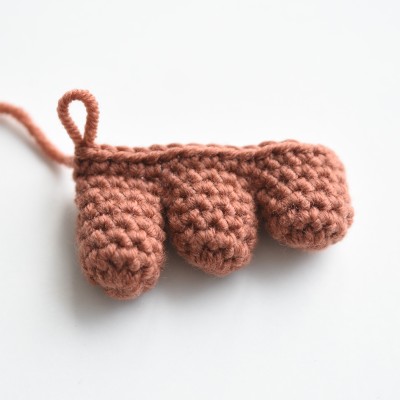
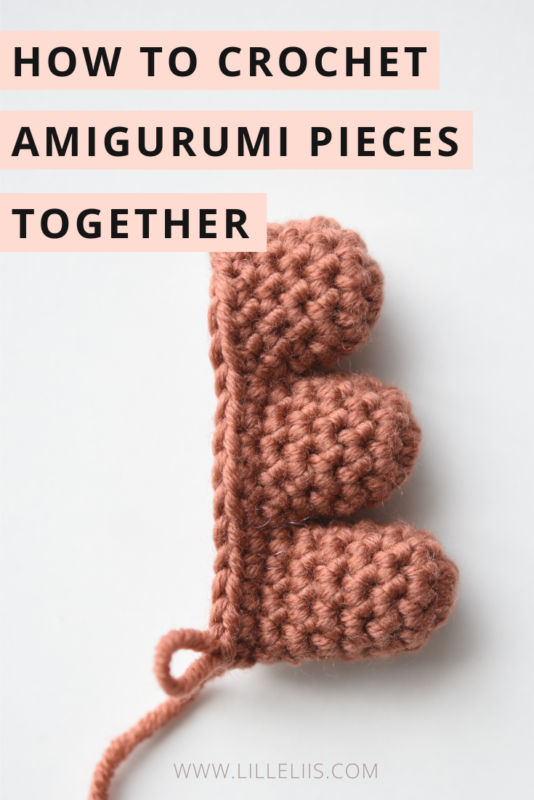
Two or more smaller amigurumi pieces can be joined into one big piece (such as where two legs are joined to make the start of the body, or several smaller pieces are joined to form an antler). This is called crocheting amigurumi pieces together.
In this video tutorial I am showing the basic technique of joining 3 amigurumi pieces into one.
Scroll down if you want to go through a photo tutorial of joining two amigurumi pieces.
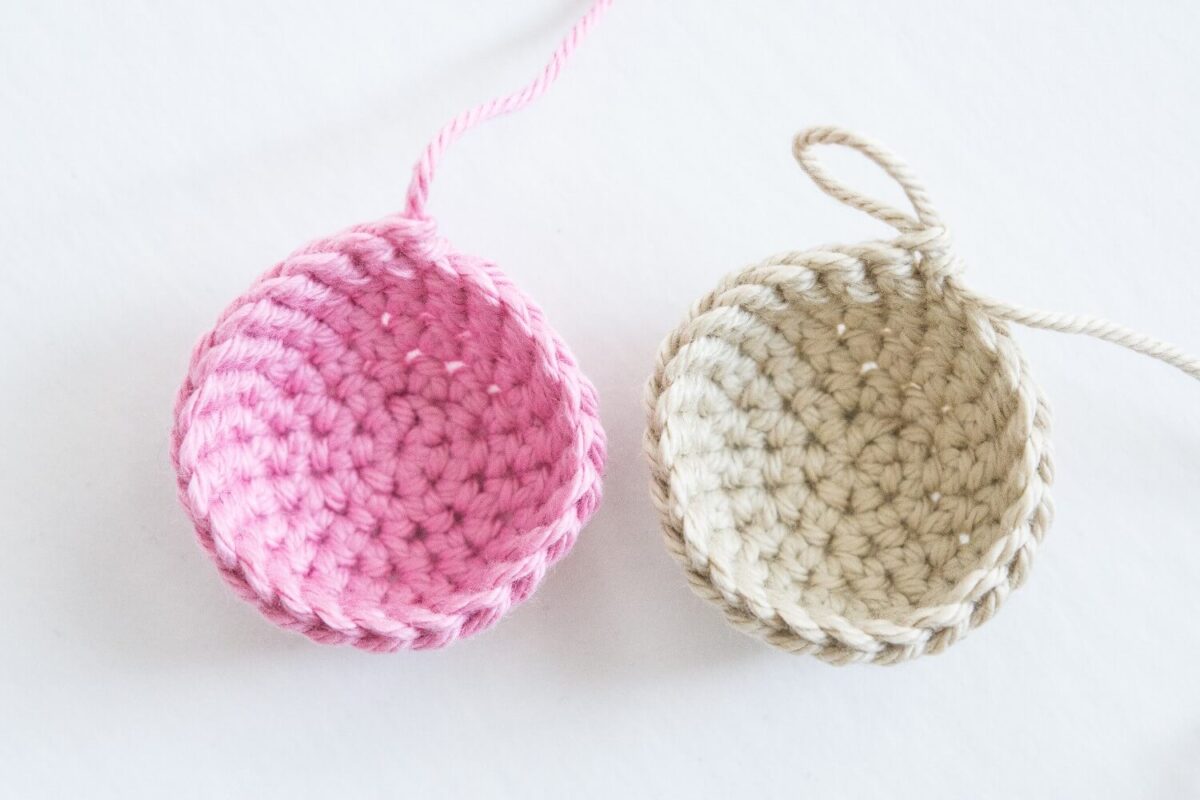
In this photo tutorial I am using different colors for the two pieces, so it`s better to understand what I´m doing.
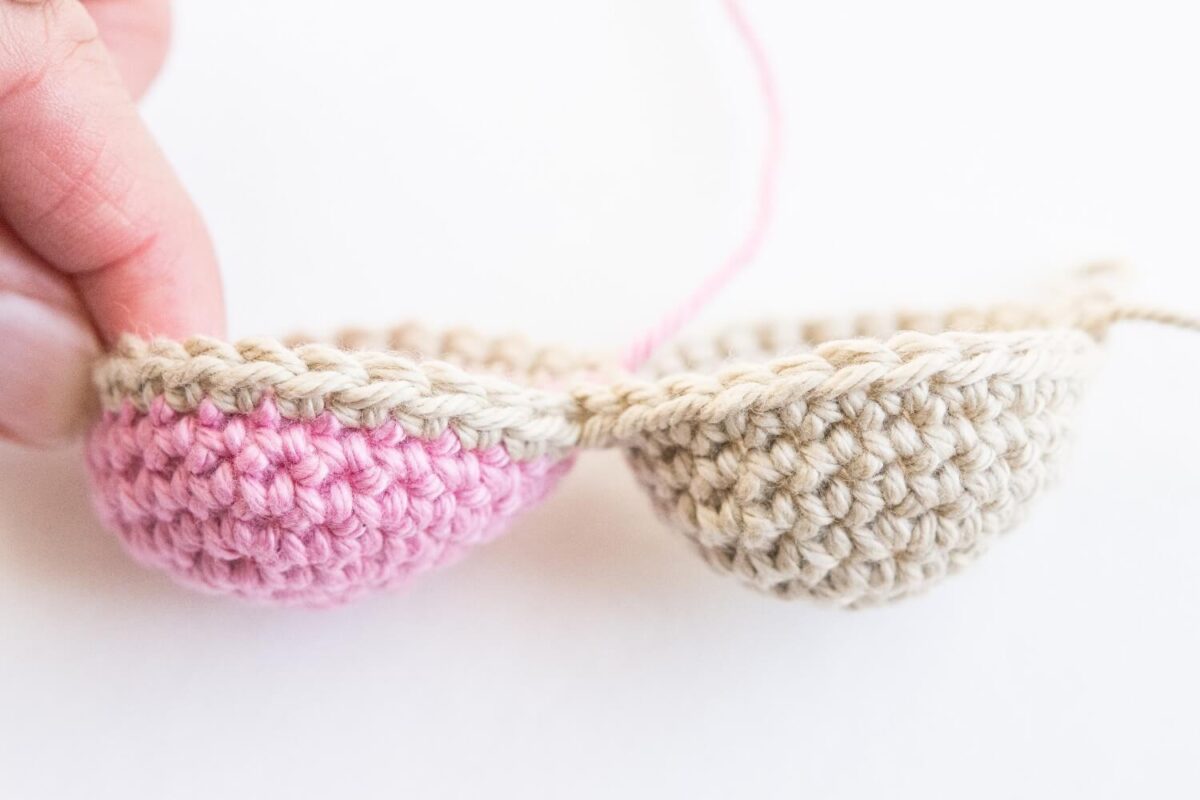
On the first piece (shown in pink in the example), fasten off and cut the yarn, leaving a tail about 20 cm / 8 in. To fasten off, you don`t need any special technique. Simply cut the yarn and pull it through the stitch.
On the second piece (beige in the example), do not fasten off. Continue crocheting on the second (beige) piece.
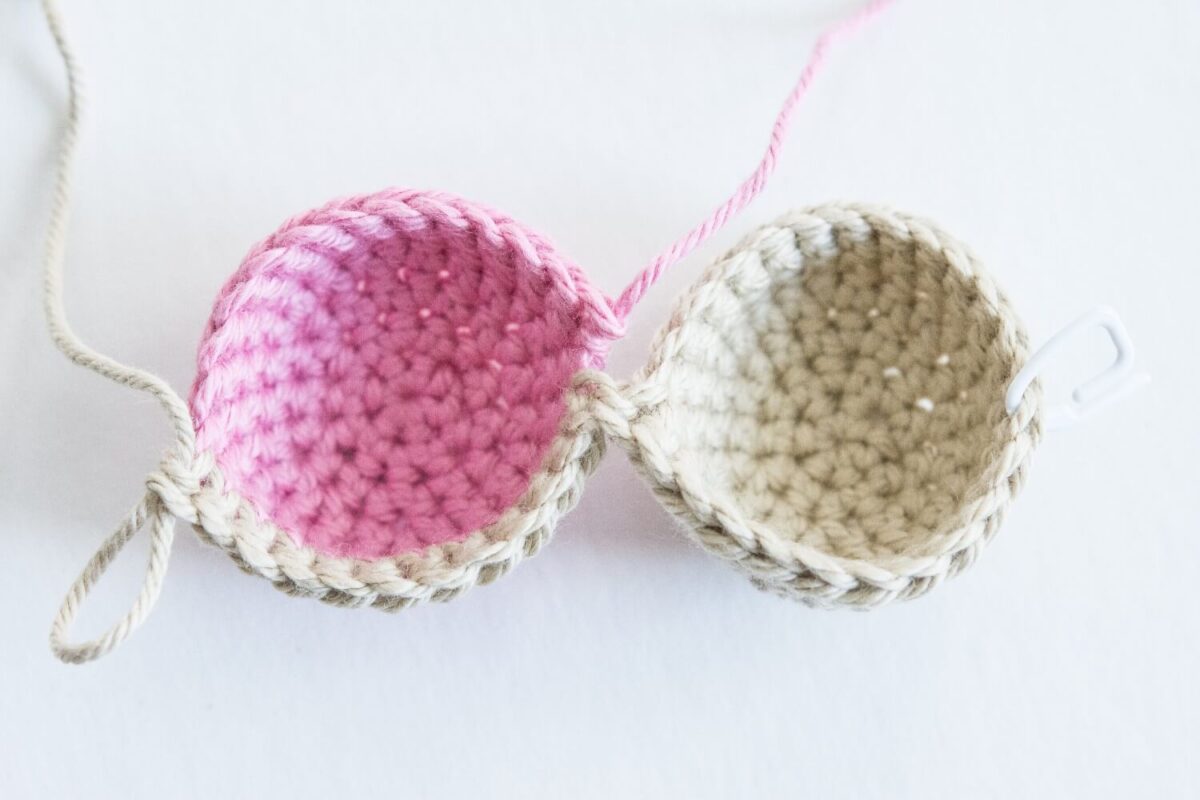
Crochet half of the stitches on the second (beige) piece. Pick up the first (pink) piece and crochet into the first stitch to the left of the last stitch made (it`s the stitch in what would have been the next round).

Continue around the pink piece to single crochet in every stitch.
Pick up where you left on the second (beige) piece and single crochet in the second half of the stitches to complete the round.
You have now created a new, bigger round by bringing together two smaller rounds.
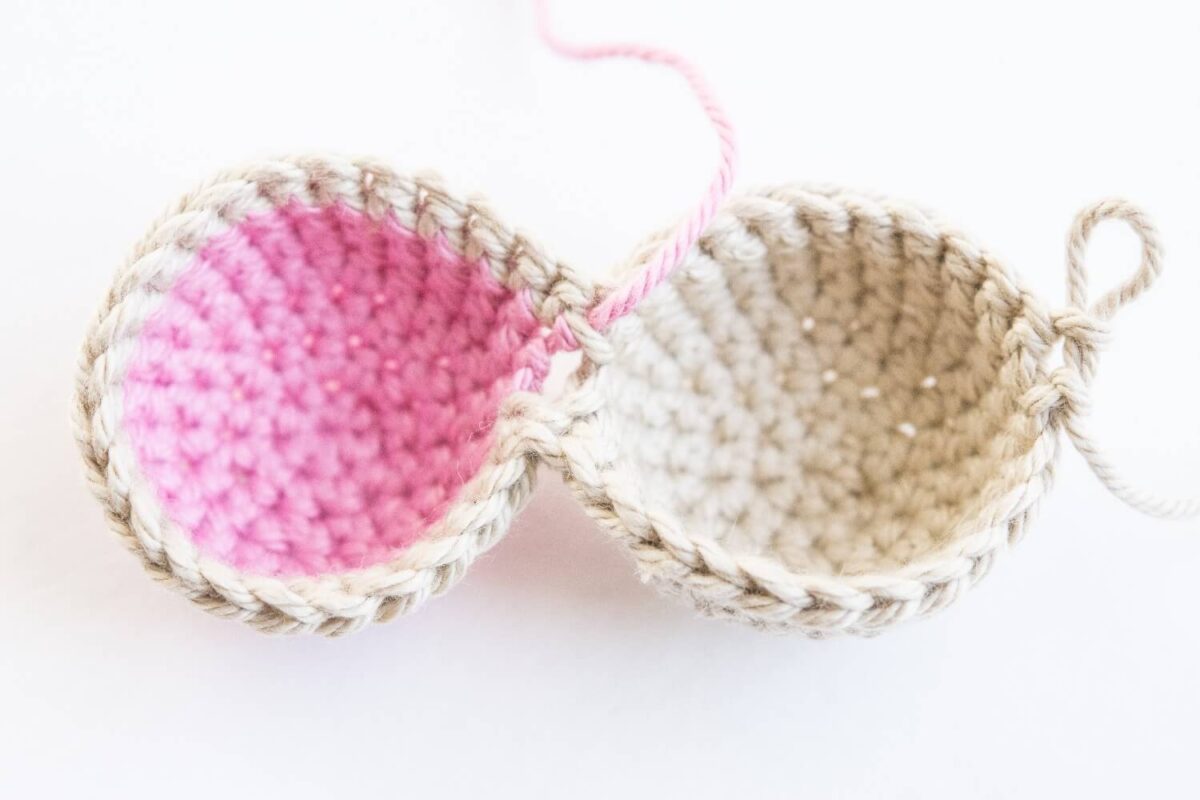
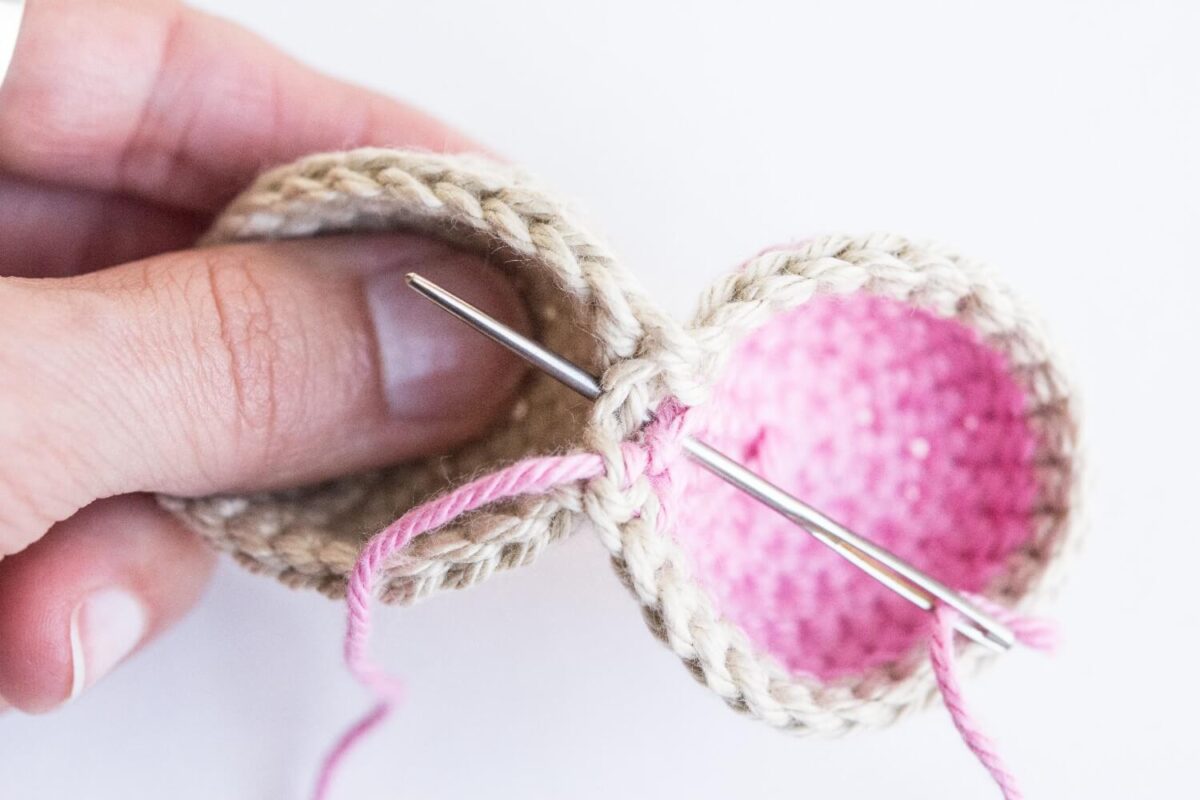
The small opening between the two pieces can be sewn together with the yarn tail from the first piece.
WANT TO TRY THE NEW SKILL?
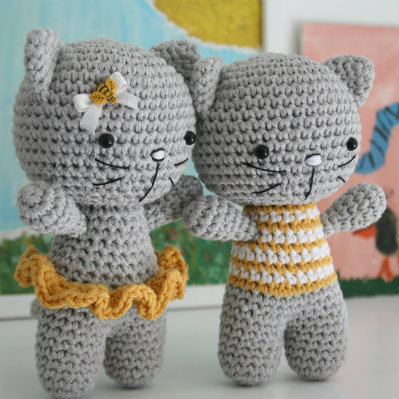
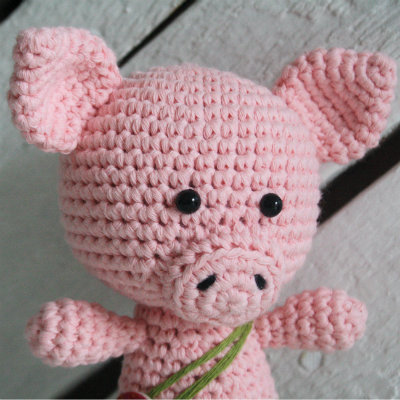
Use these free patterns of mine to try out the technique of crocheting amigurumi pieces together.
Do you have a video on sewing the heads, legs, arms or ears to the body of a pattern? I always get them uneven and it just doesn’t look clean when I’m done. I love making the animals but frustrated they don’t look good. Thank you
Hi, Linda! I am preparing a video tutorial and it should be available during the week or so. But meantime, you can check this blog post about different sewing techniques and ways.