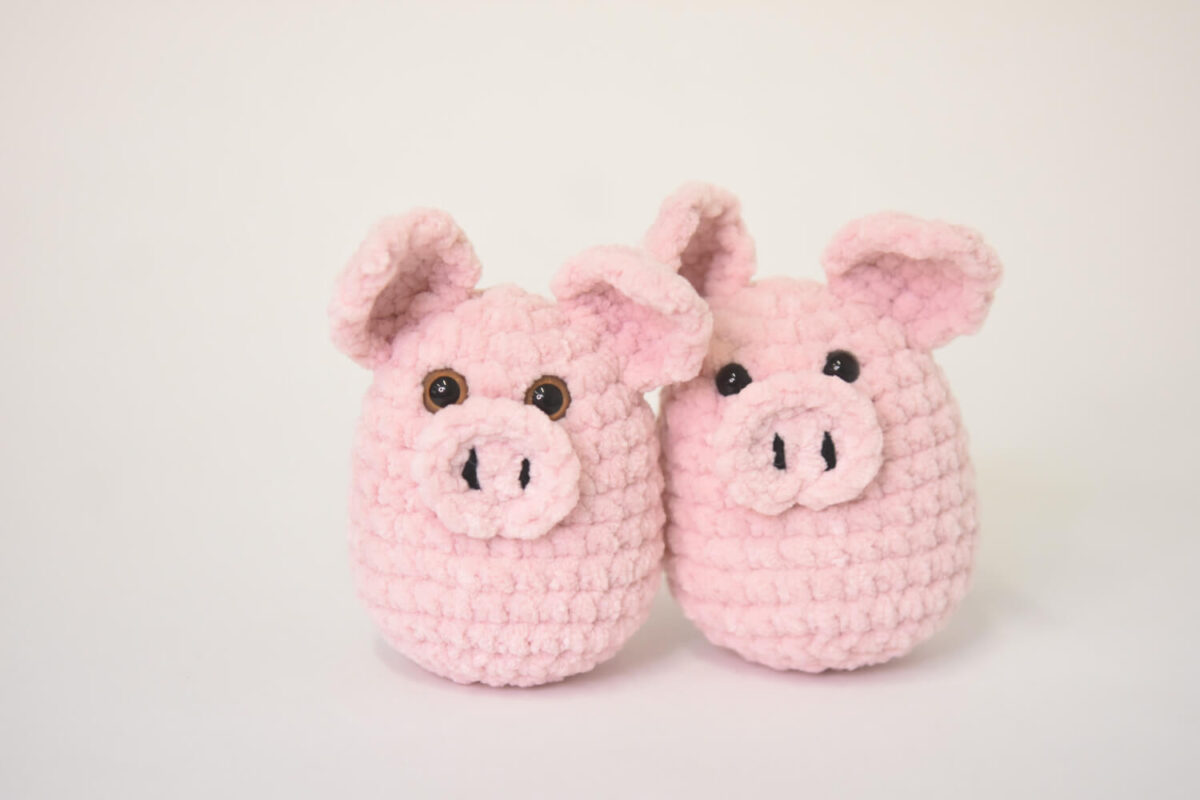
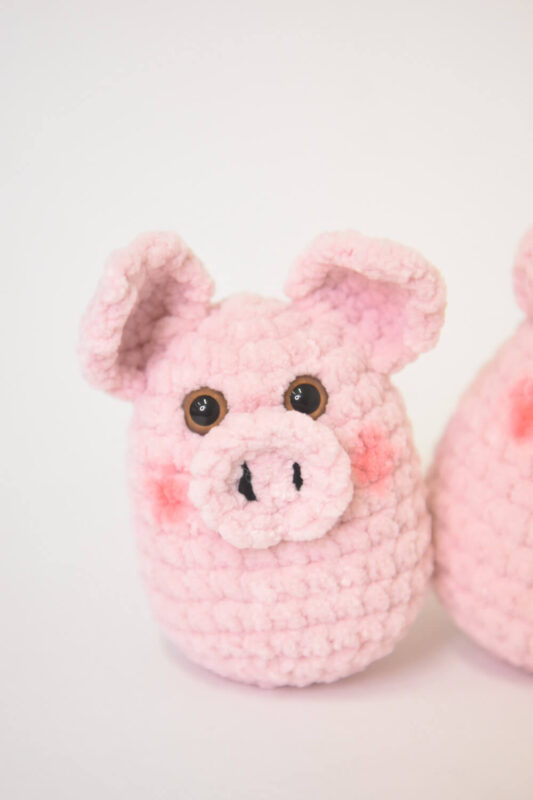
AMIGURUMI SQUISHY PIG
Free pattern © Mari-Liis Lille
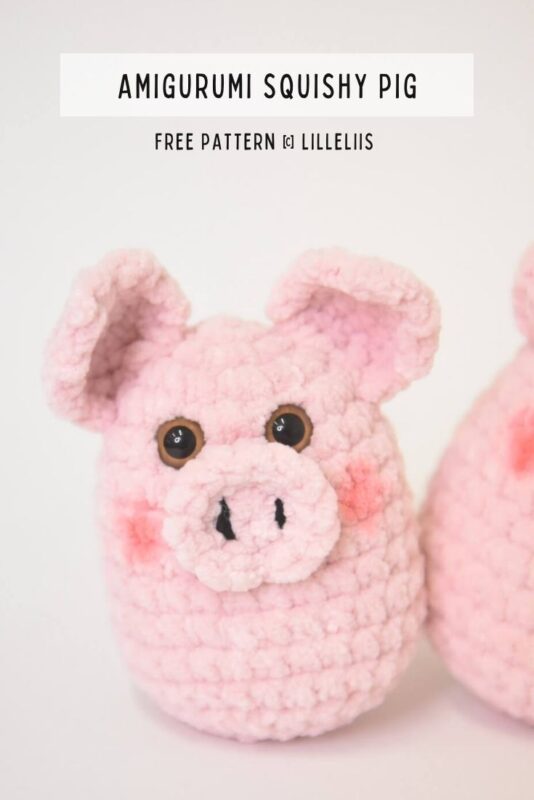
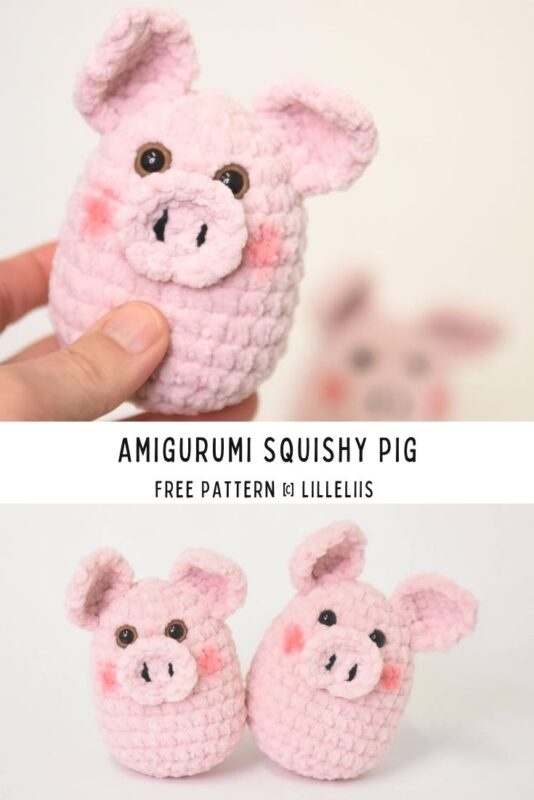
The Amigurumi Squishy Pig is a quick crochet project, perfect for using up leftover chenille yarn.
This pattern works up incredibly fast—you can complete it in just about 30 minutes! Whether you need a last-minute present for a friend or a fun, stress-free project to unwind with, this little pig is sure to bring joy.
Designed with simplicity in mind, the Squishy Pig is beginner-friendly and easy to make, even for those new to amigurumi. Grab your yarn scraps, crochet hook, and let’s get started!
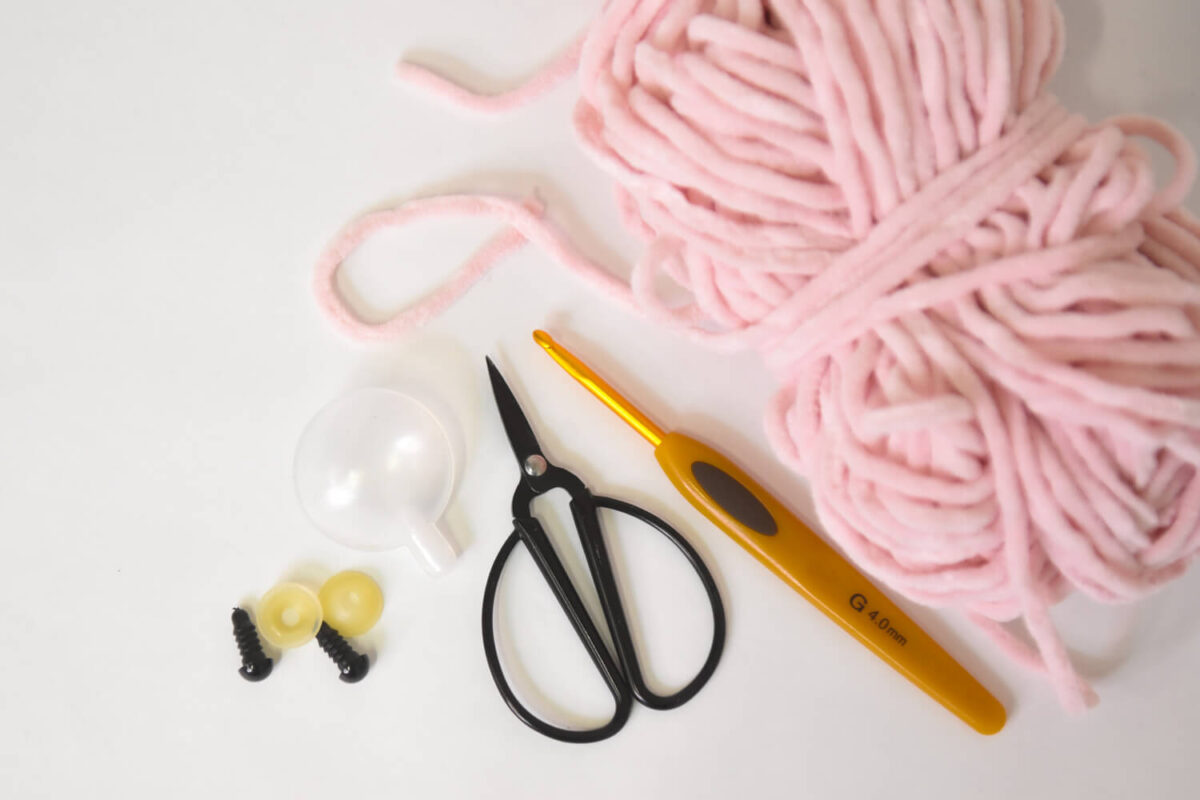
Supplies you`ll need:
- bulky chenille yarn in pink color, for example Chenillove (100 g / 110 m)
- 4 mm crochet hook
- safety eyes (8 or 10 mm)
- polyester fiberfill
- black yarn for the nostrils
- darning needle
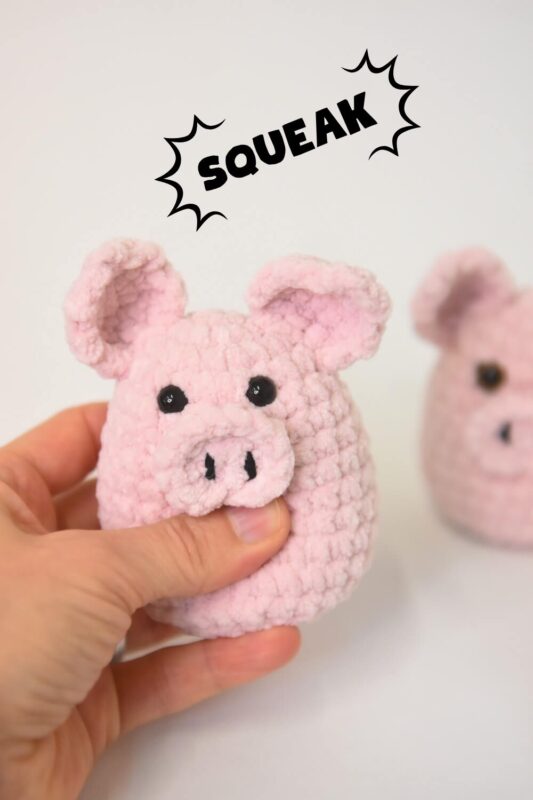
- squeaker (35 mm) – optional
Finished size: 10 cm / 4 in
Skill level: super easy
Stitches and abbreviations (US crochet terms):
Magic ring, slip stitch (sl st), chain (ch), single crochet (sc), repeat (rep), stitch(es) – st(s)
About the pattern:
- Work in continuous rounds.
- Use a stitch marker and place it in the first stitch of the round to mark the beginning of it.
- Leave each piece a long tail for sewing.
BODY
1: Start 6 sc in a magic ring [6]
2: Work 2 sc in each st around [12]
3: (Sc in next st, 2 sc in next st) rep 6 times [18]
4: (Sc in next 2 sts, 2 sc in next st) rep 6 times [24]
5-6: Sc in each st around [24]
7: (Sc in next 7 sts, 2 sc in next st) rep 3 times [27]
8-9: Sc in each st around [27]
Fasten the safety eyes between rounds 4 and 5. Insert the first eye between them, then count 3 holes to the left and insert the second eye in the next hole. Close the washers from the inside of the piece.
10: (Sc in next 8 sts, 2 sc in next st) rep 3 times [30]
11-12: Sc in each st around [30]
13: (Sc in next 3 sts, sc2tog) rep 6 times [24]
14: (Sc in next 2 sts, sc2tog) rep 6 times [18]
Stuff the body, adding more filling as you go. Insert a squeaker if you want it to make a sound.
15: (Sc in next st, sc2tog) rep 6 times [12]
16: Sc2tog around [6]
To close the hole, weave the yarn through the front loops of all 6 sts of the last round and pull together tightly. Knot securely and hide the yarn tail inside the work.
EARS
1: Start 3 sc in a magic ring [3]
2: Turn, ch 1, sc in the same st, 2 sc in next st, sc in the last st [4]
3: Turn, ch 1, sc in the same st, 2 sc in next 2 sts, sc in the last st [6]
4-5: Sc in each st around [6]
6: (Sc2tog) rep 3 times [3]
Sew the ears to the head.
SNOUT
1: Start 7 sc in a magic ring [7]
2: Work 2 sc in each st around, sl st in the first sc [14]
Attach the snout just below the eyes.
Embroider two vertical lines with black thread as nostrils.
