Tips and tricks
How to crochet around the foundation chain – tutorial (video)
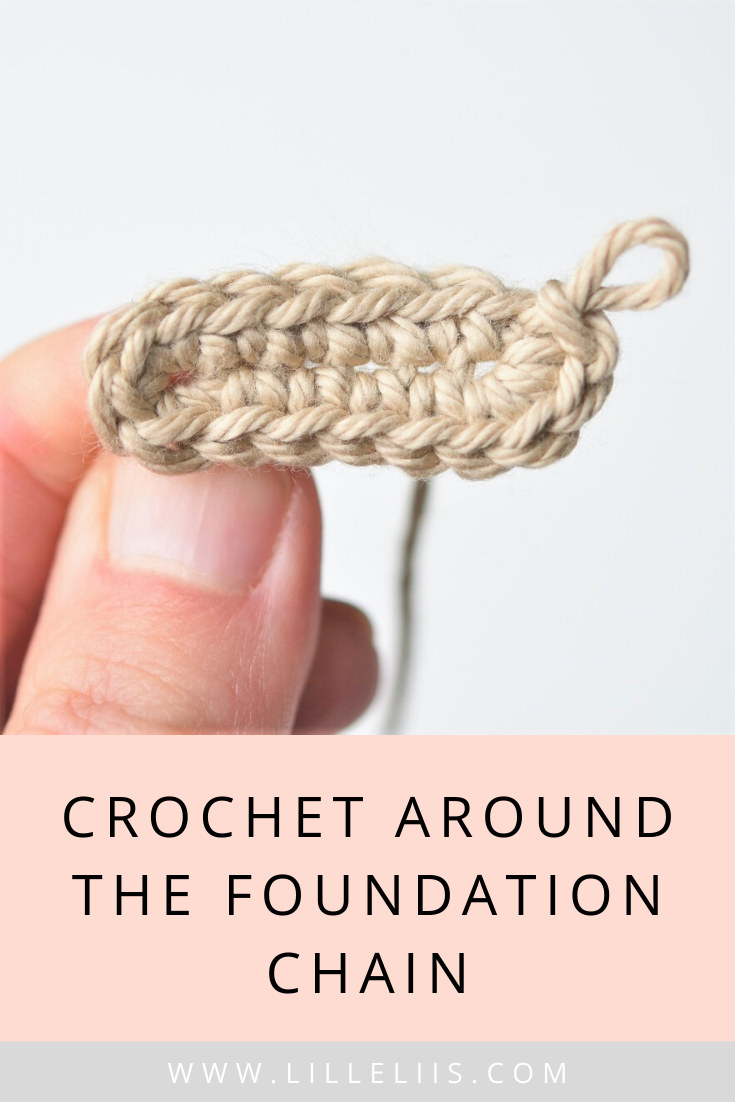
In this tutorial I am going to show you how to work single crochet around the foundation chain.
Click here if you prefer a video tutorial.
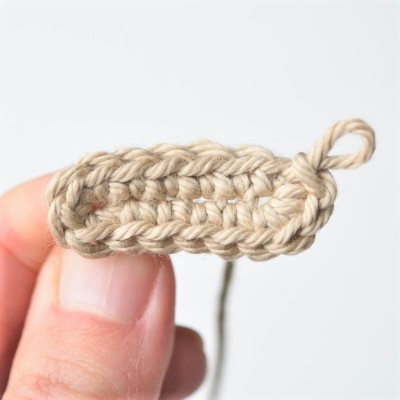
To create an oval, you crochet back on the foundation chain, turn the piece at the end and work in the single loop at the underside of the foundation chain. In order to maintain a smooth oval shape, you increase in the outer stitches of the foundation chain.
Where will you need this technique?
For example when crocheting a sole of the slipper or the bottom of the bag. In amigurumi, to start the oval-shaped legs, sometimes muzzle or any other piece you want to give an oval shape to.
I will start this example with a random number of chains just to show you the basic technique. You may need to adjust this according to the pattern you`re using.
The number in square brackets shows the number of stitches in the end of the specific section.
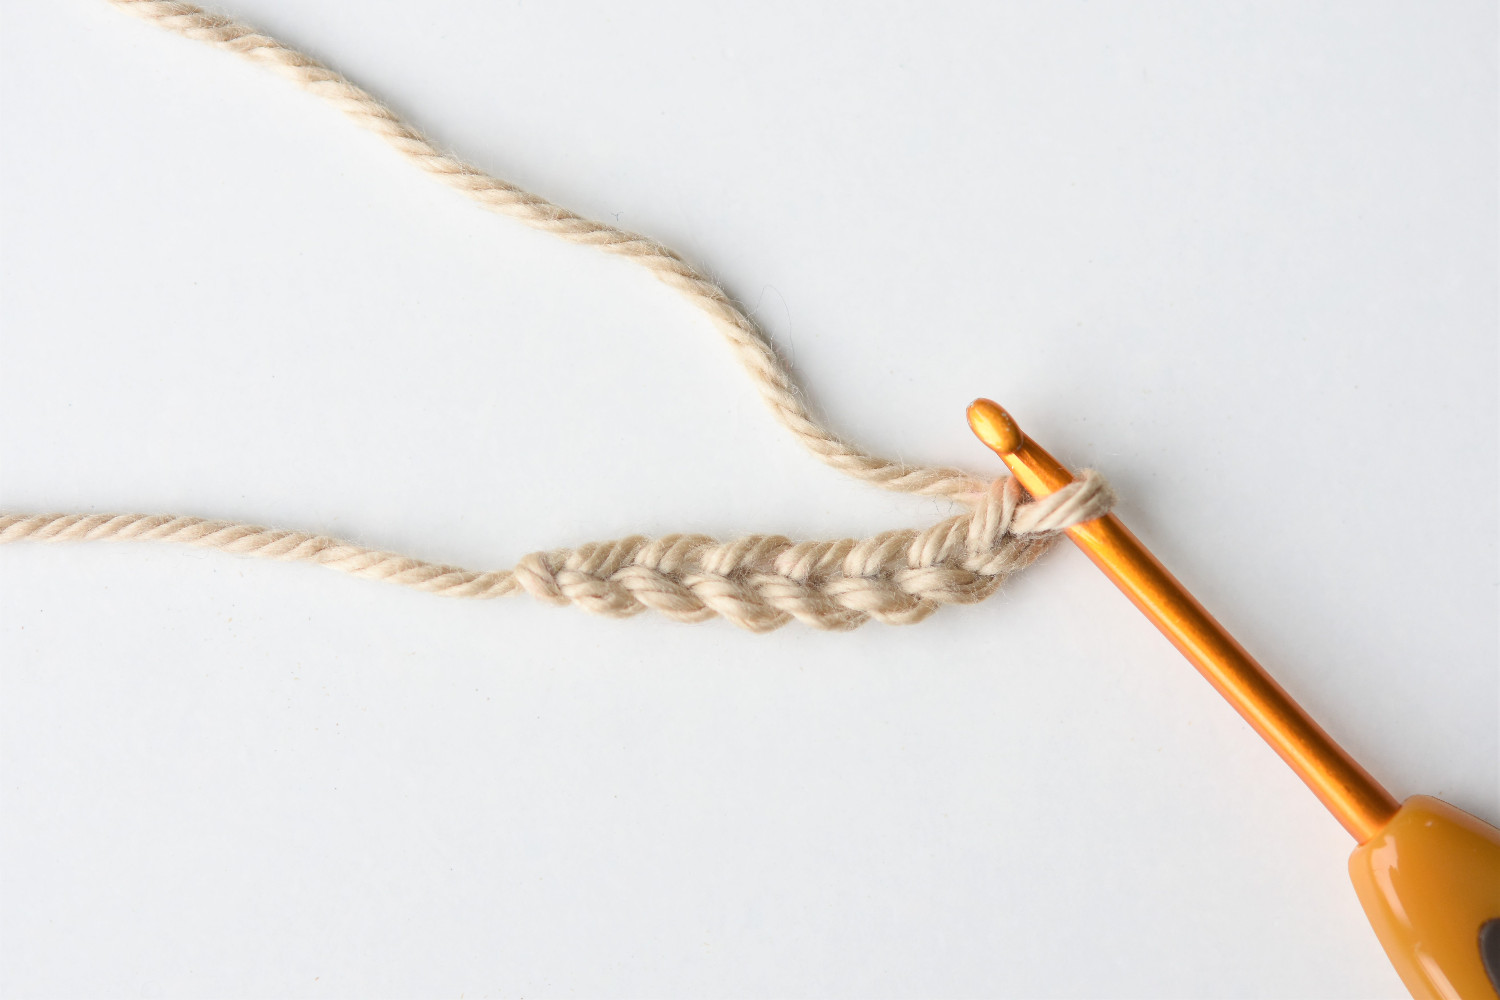
1: Work a chain as long as needed. I did ch 7 [7]
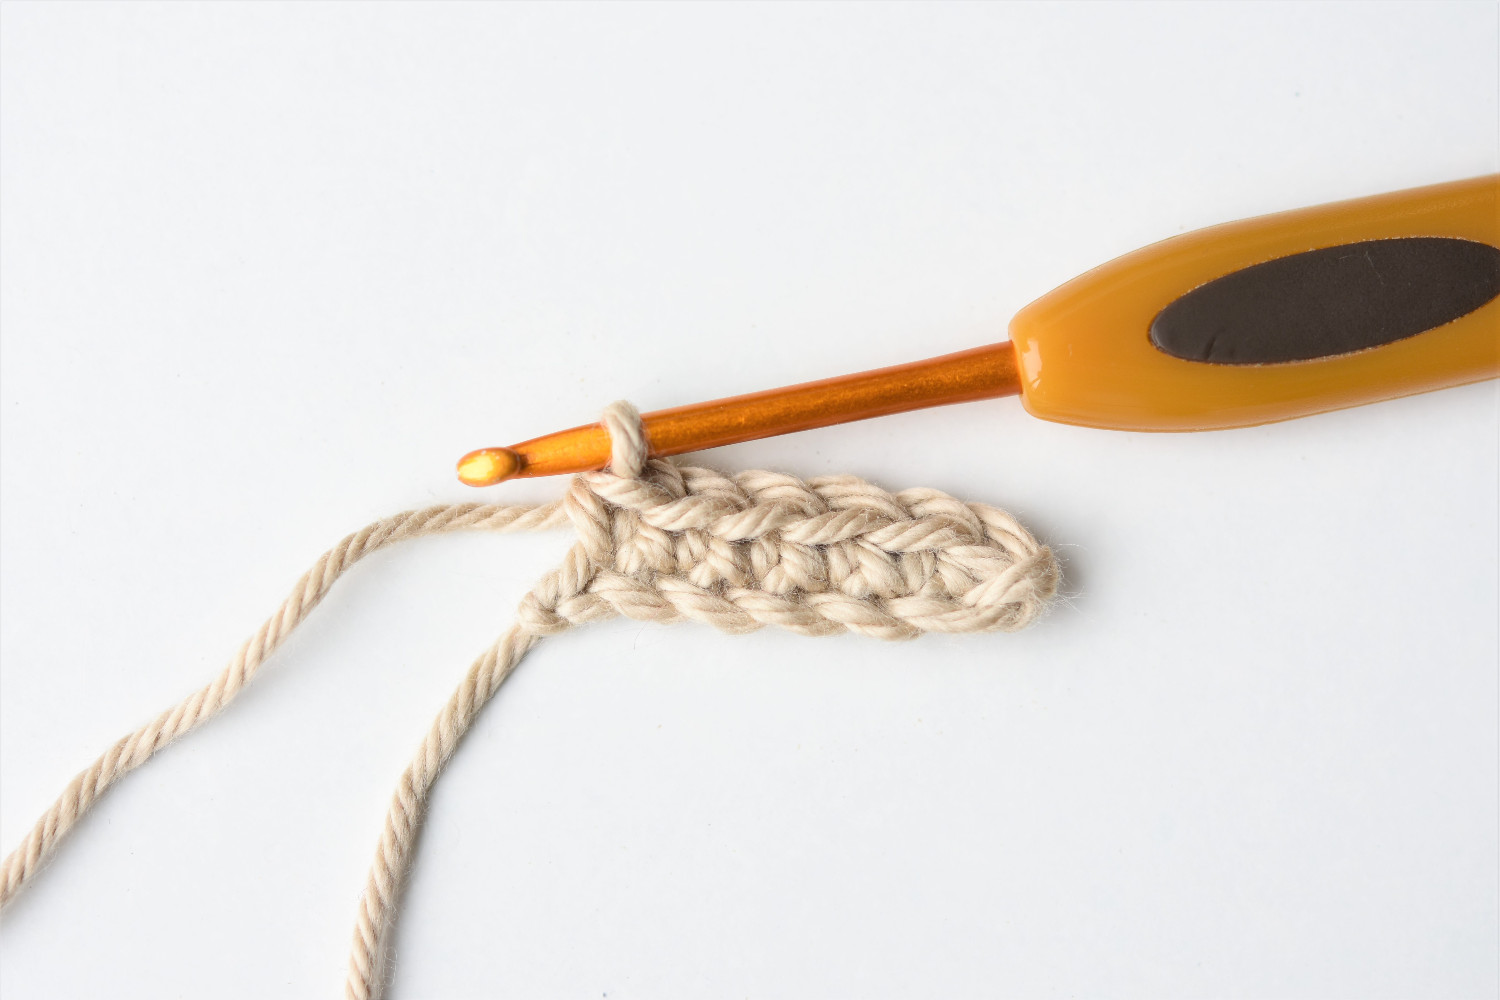
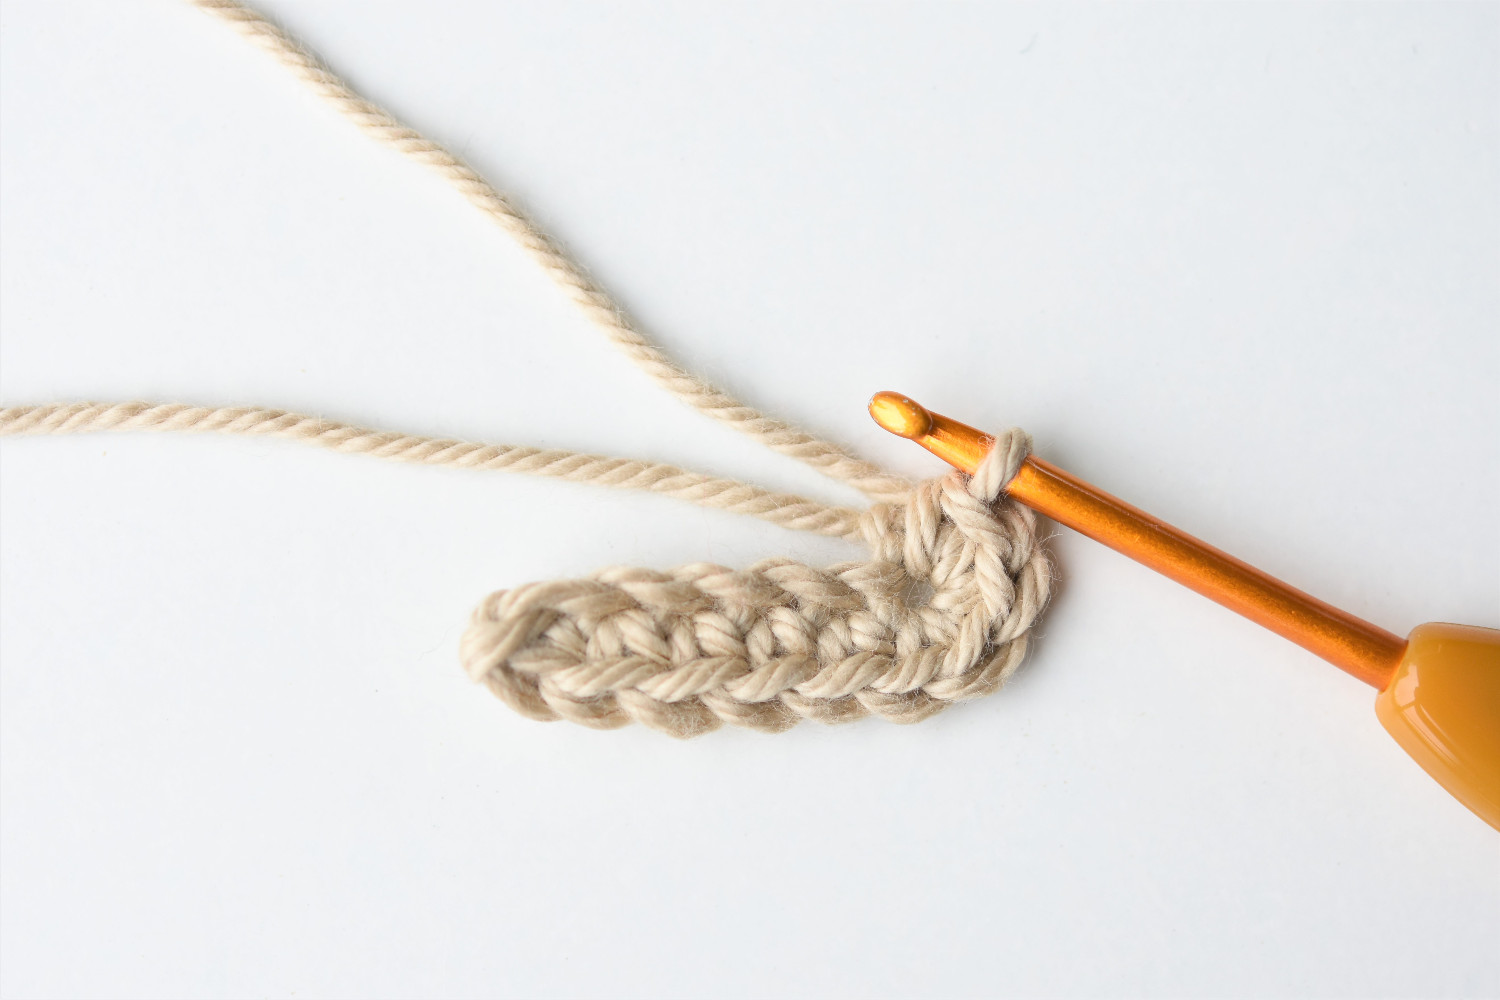
2: Starting in the second chain from hook, sc in each chain [6]
3: To get you to the other side of the chain you need to work a couple of more stitches into the last stitch. I added 3 sc, so now I have 4 sts in the last chain and 9 sts in total [9]
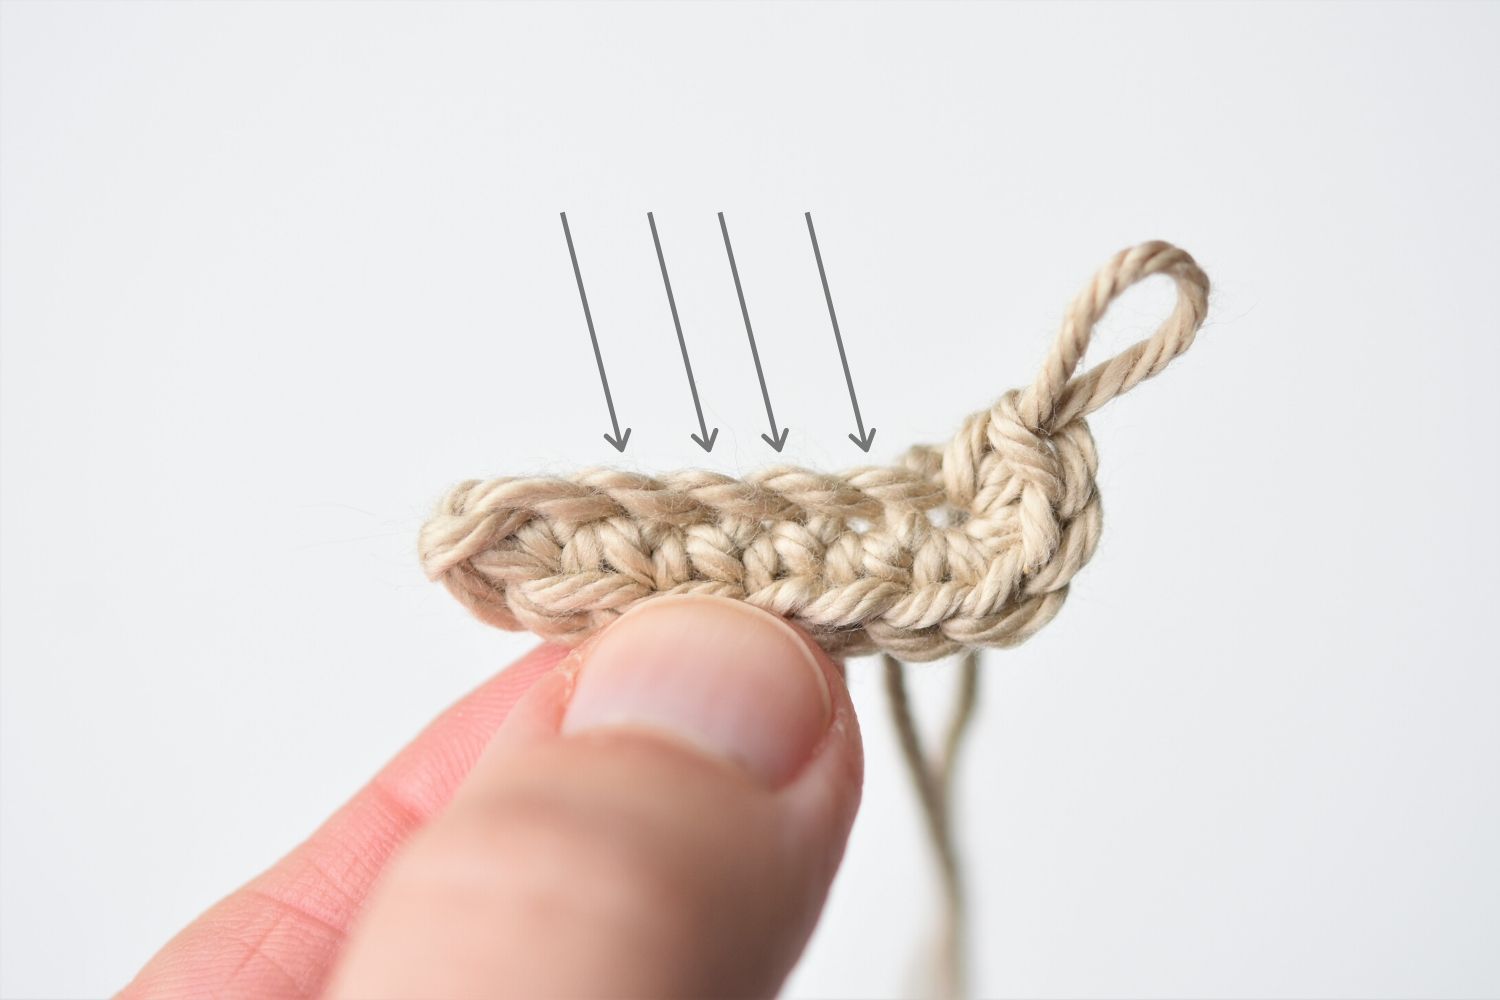
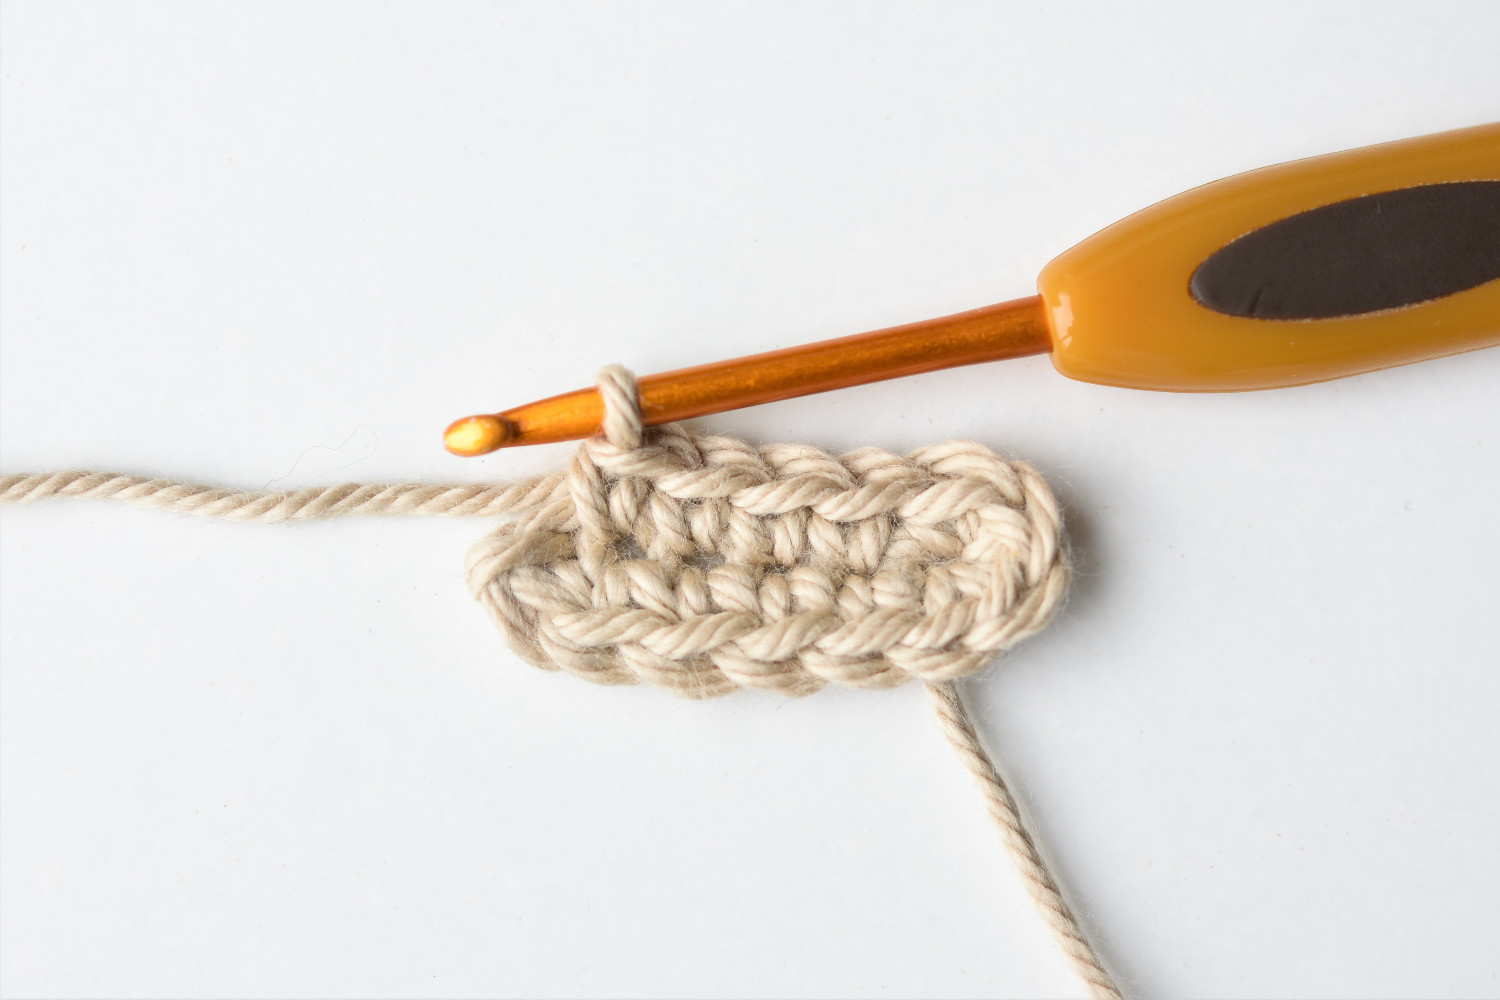
4: Continue working single crochet stitches in the loops at the other side of the foundation chain (the arrows are pointing to the loops you`ll be using). Work sc in each of next 4 loops [13]
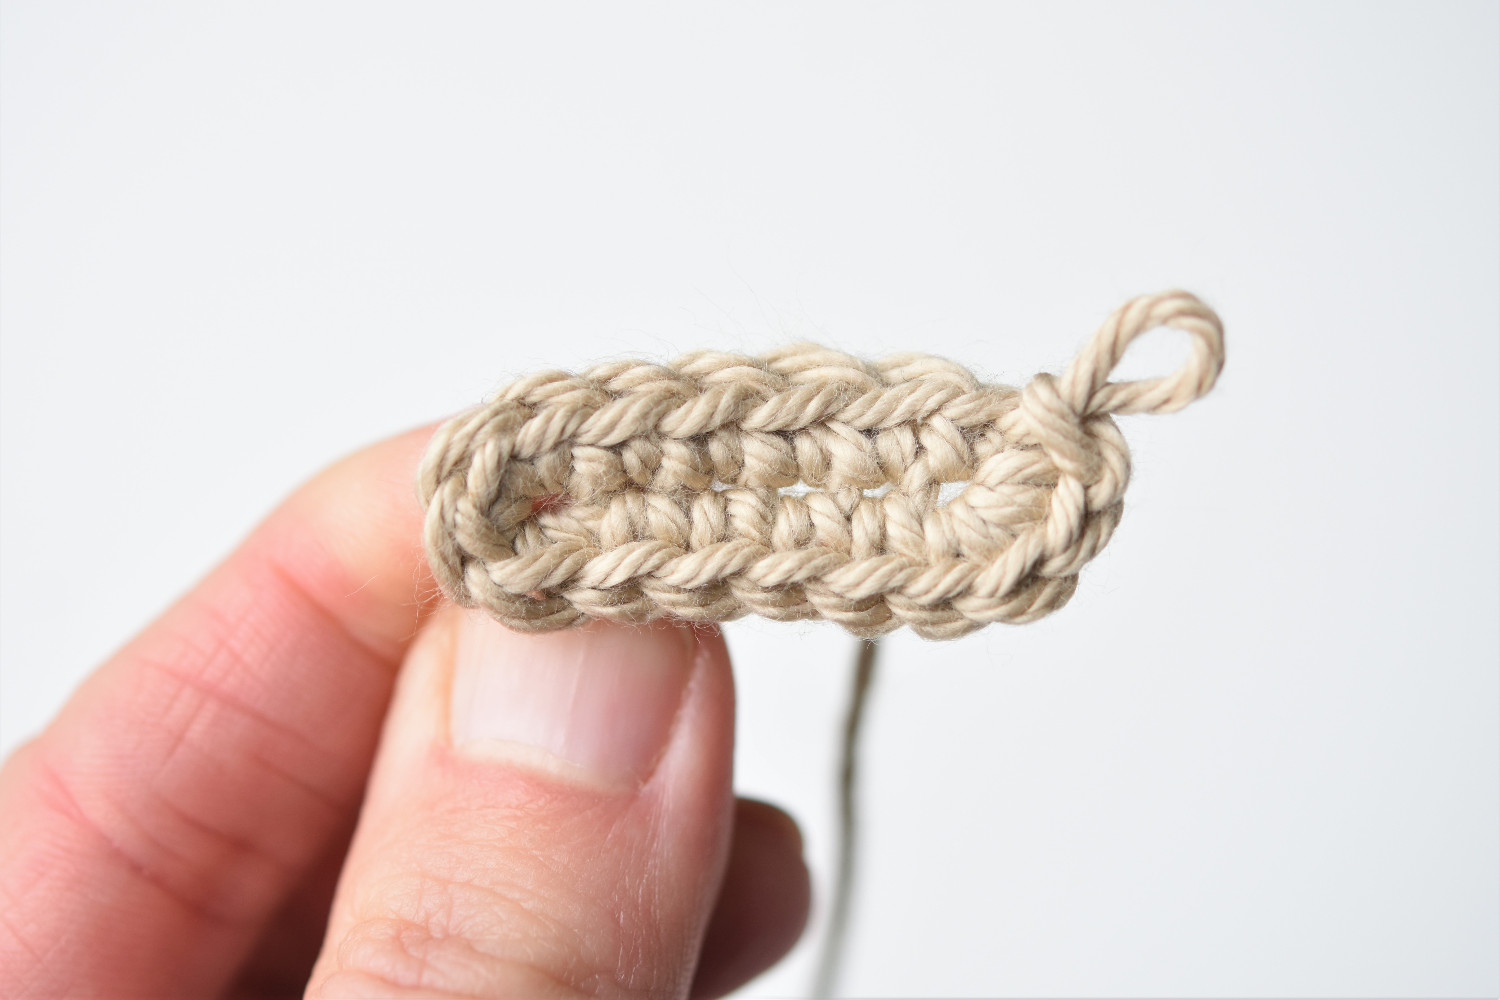
5: You have come back to the beginning of the round. Similar to the other side of the piece, I will add 3 sc to the outer stitch to keep it oval + a slip stitch into the first stitch to complete the round. This makes 16 sts in total [16]
NB! Not all the patterns require an equal number of increases on both sides of the piece.
You have successfully completed the first round around the foundation chain!
You can watch video instructions in addition:

Thank you so much for the tutorial. I am relatively new to crochet and was completely stumped on a pattern calling for this process.
Thanks, makes me so glad :)