Tips and tricks
How to make a yarn pom-pom using your fingers?
In this post we`ll be making a super easy pom-pom using only your fingers. So if you don`t happen to have a special pom-pom maker on hand, then this method might help you out.
Ideas where to use it?
A tail to a bunny, on kids hats, scarves and mittens, on the corners of a pillow, on the border of the blanket etc. But remember, the pom-pom you can make with your fingers is quite small.
Which yarn to use?
In my experience you can expect the thickest and fluffiest result with woollen yarn. However, in my example I´ve used cotton and as you can see it looks nice too.
What else will you need?
Scissors.
Let`s get started!
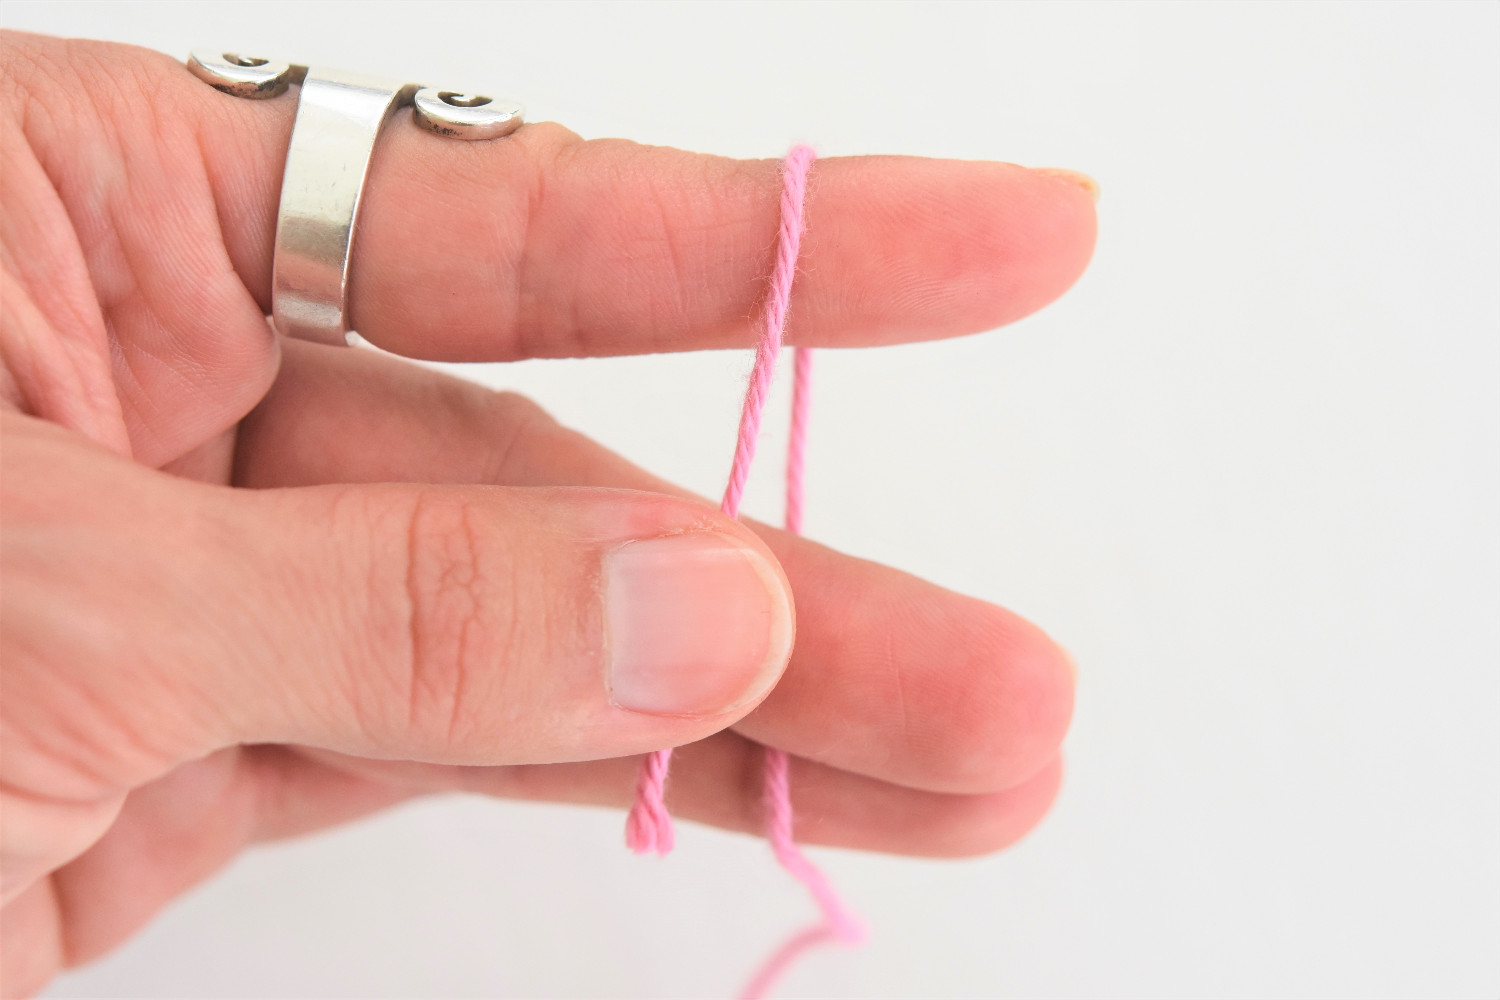
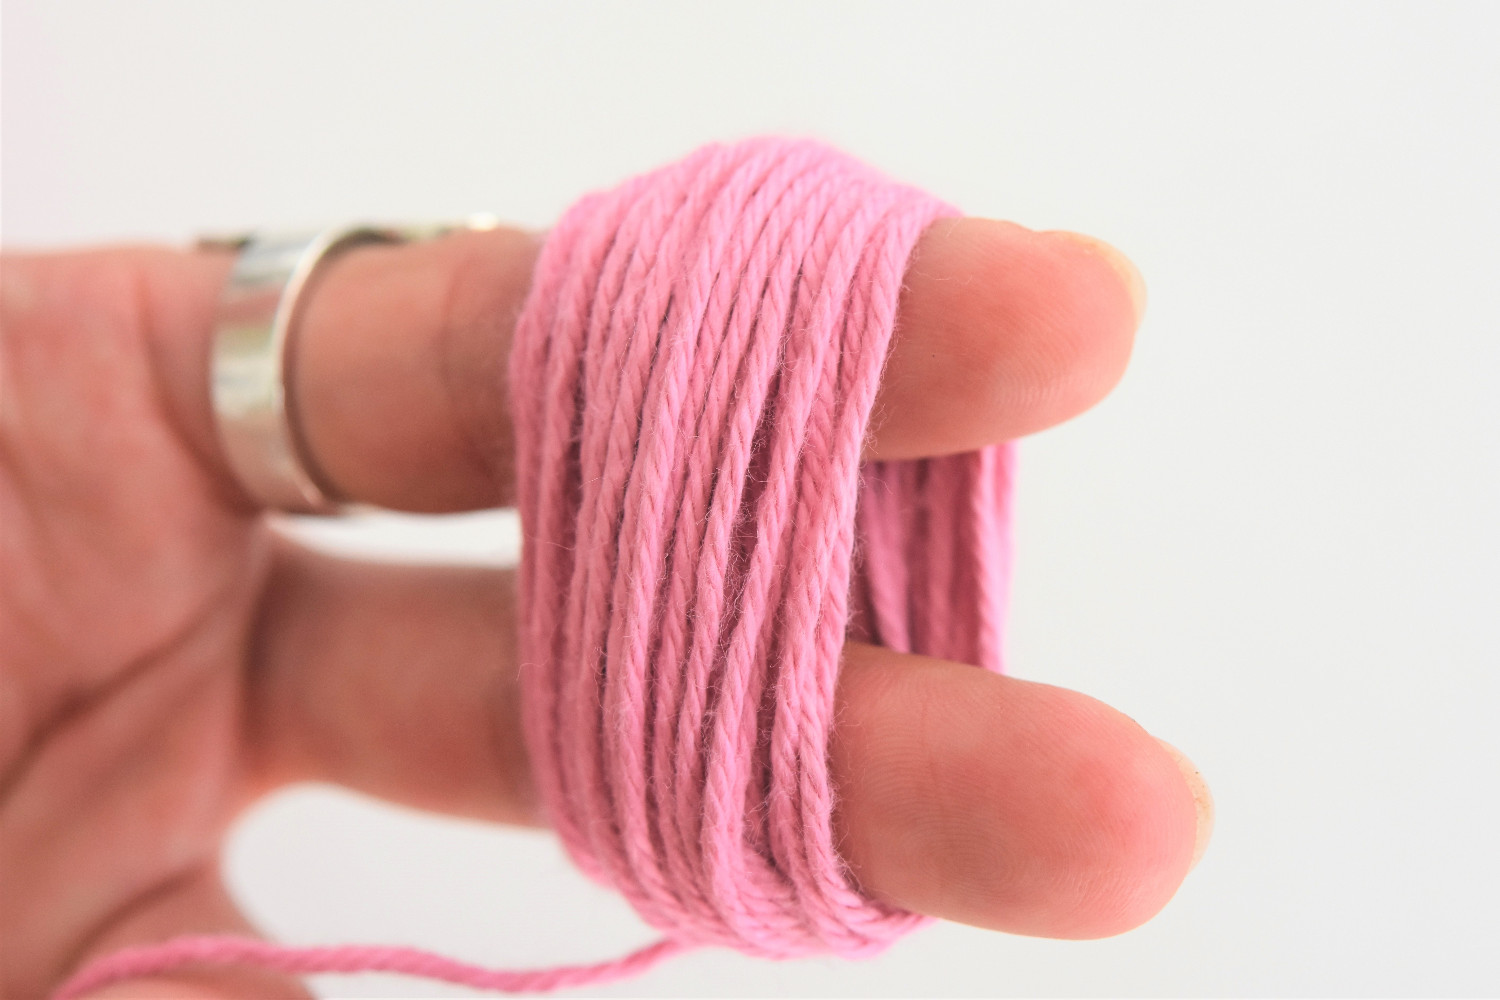
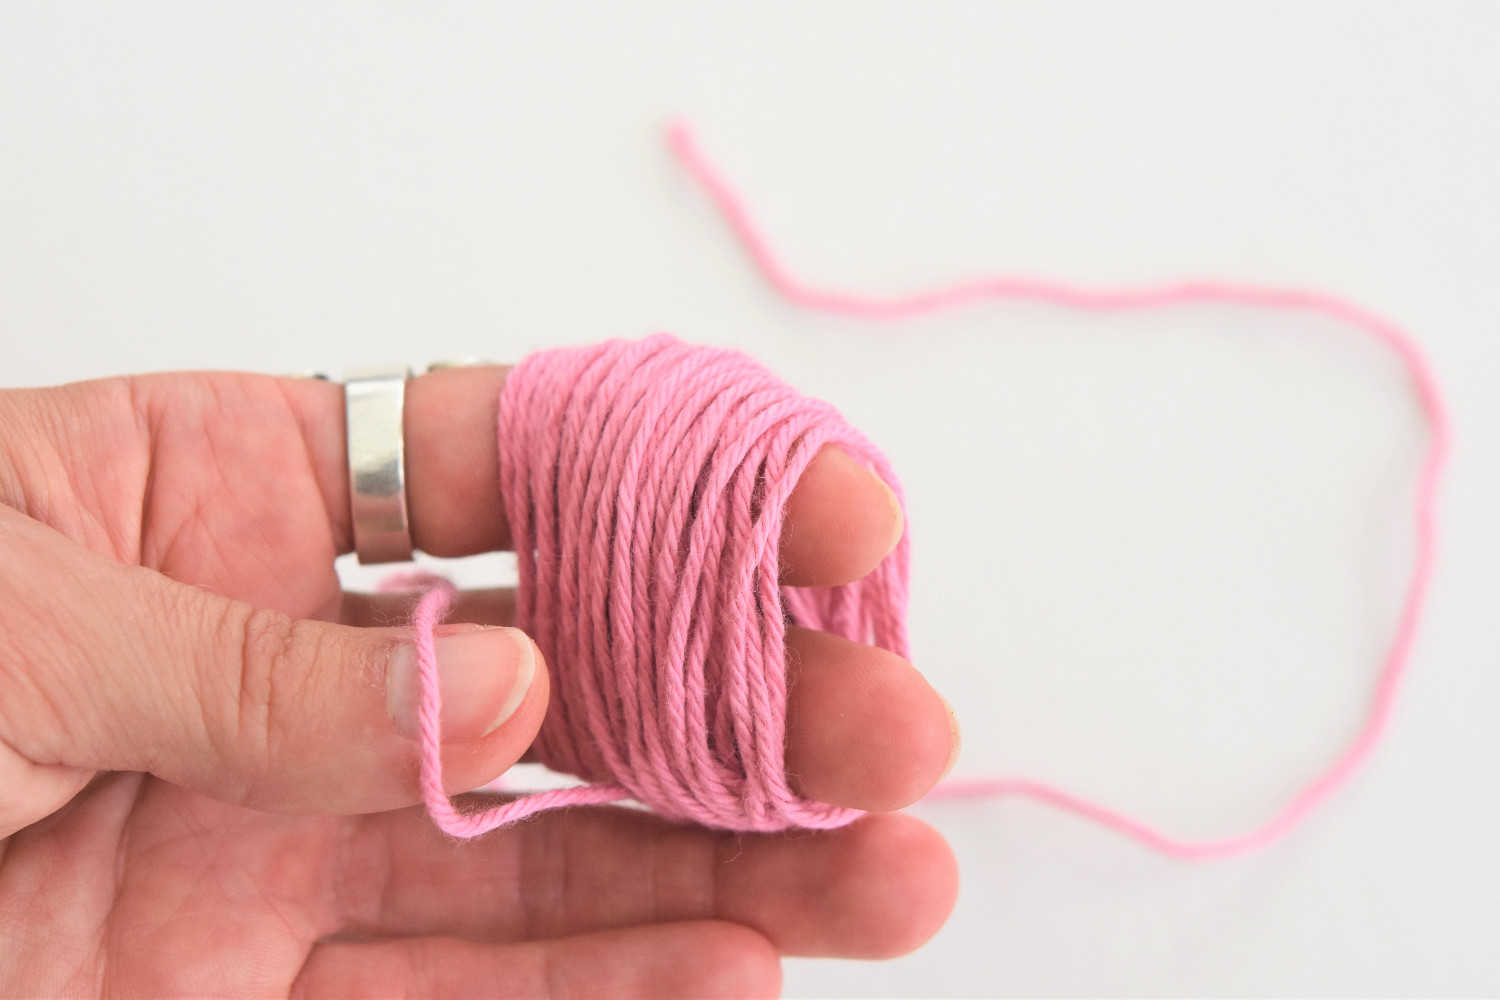
1. Leave a small gap between your index finger and your middle finger and start wrapping the yarn around the fingers. Make about 50 turns. Leave a yarn tail of about 20 inch / 50 cm long.
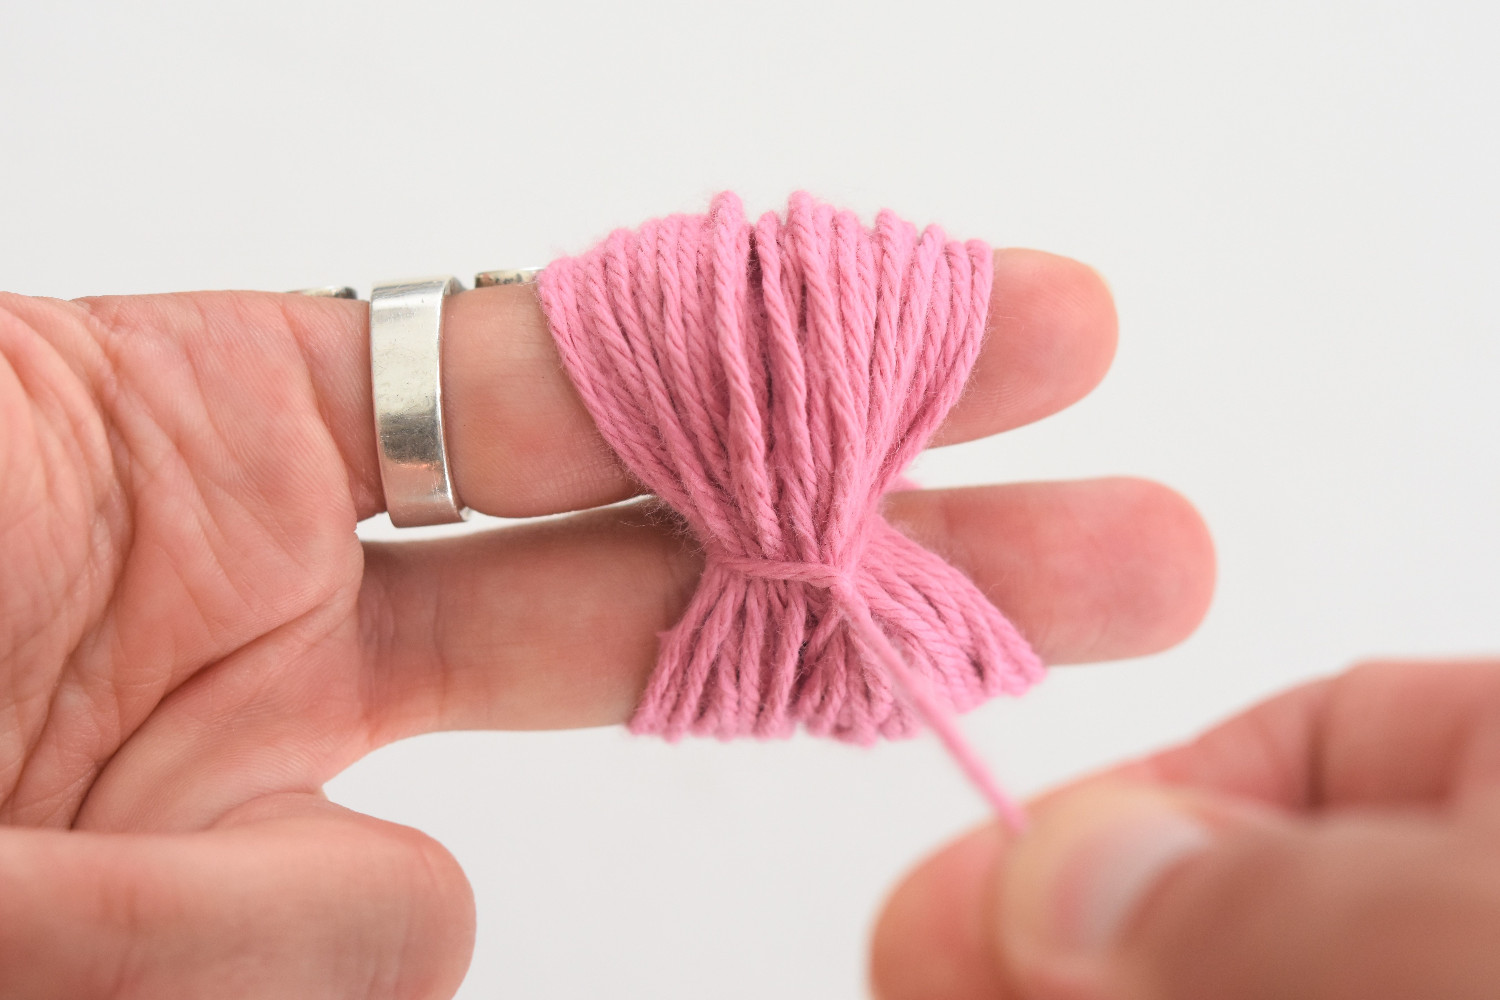
2. Wrap the yarn tail between the fingers and around the wrapping. Make a tight knot.
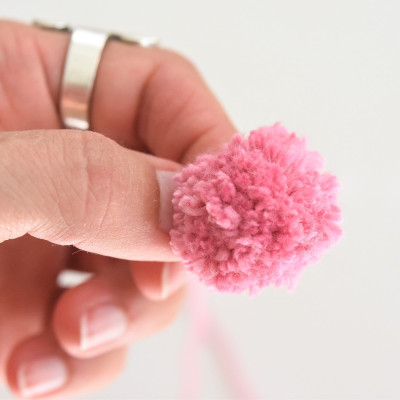
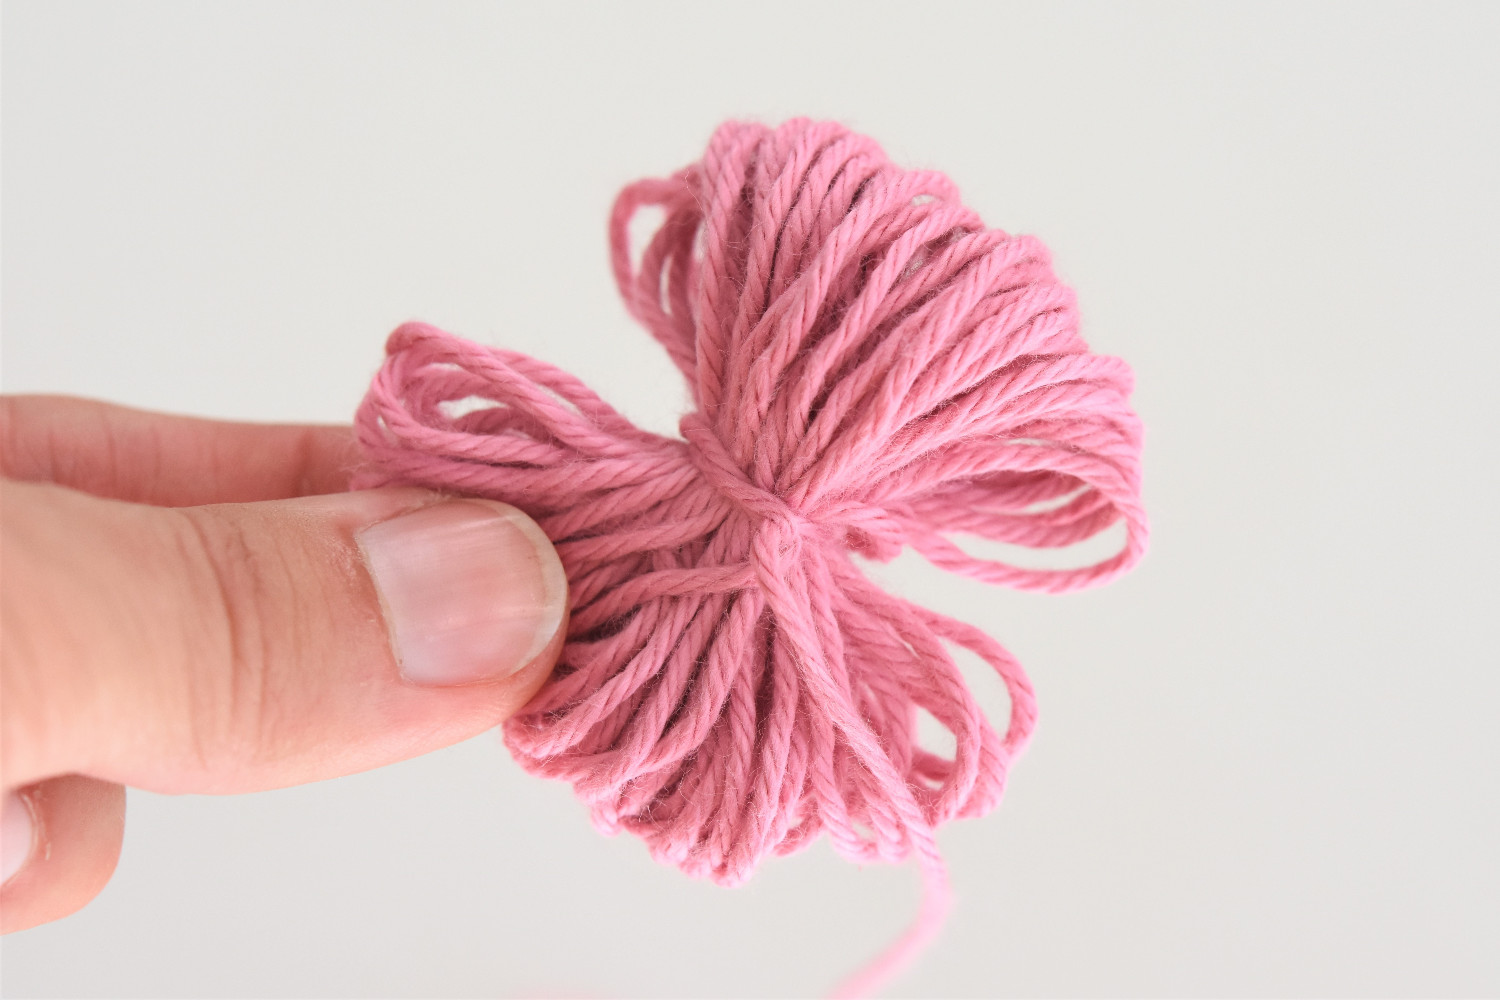
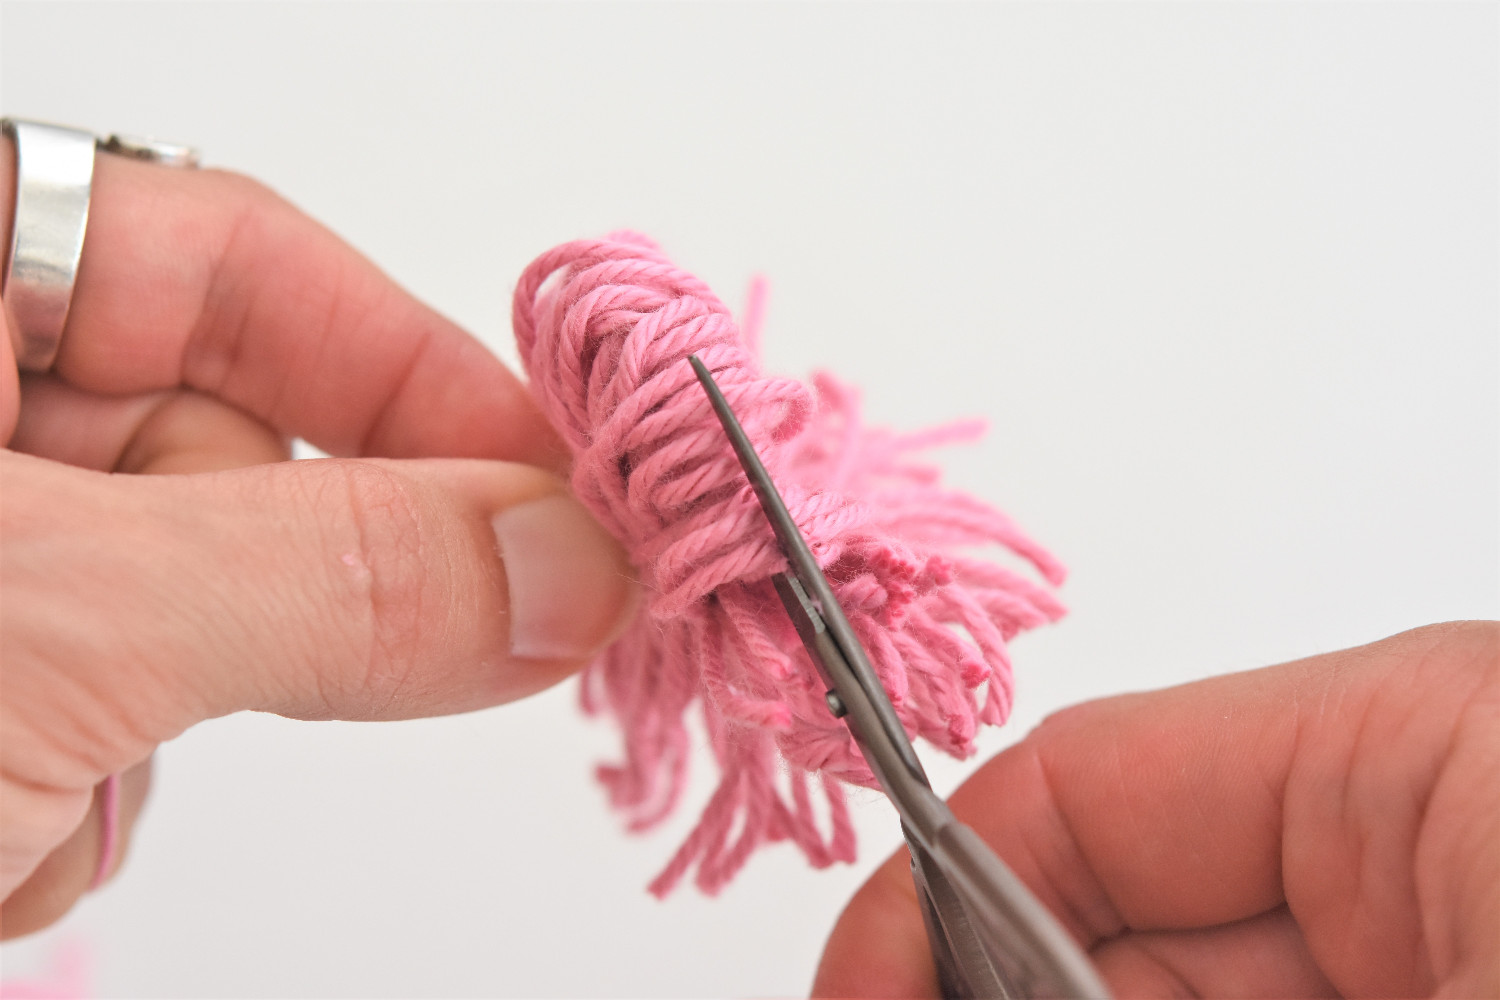
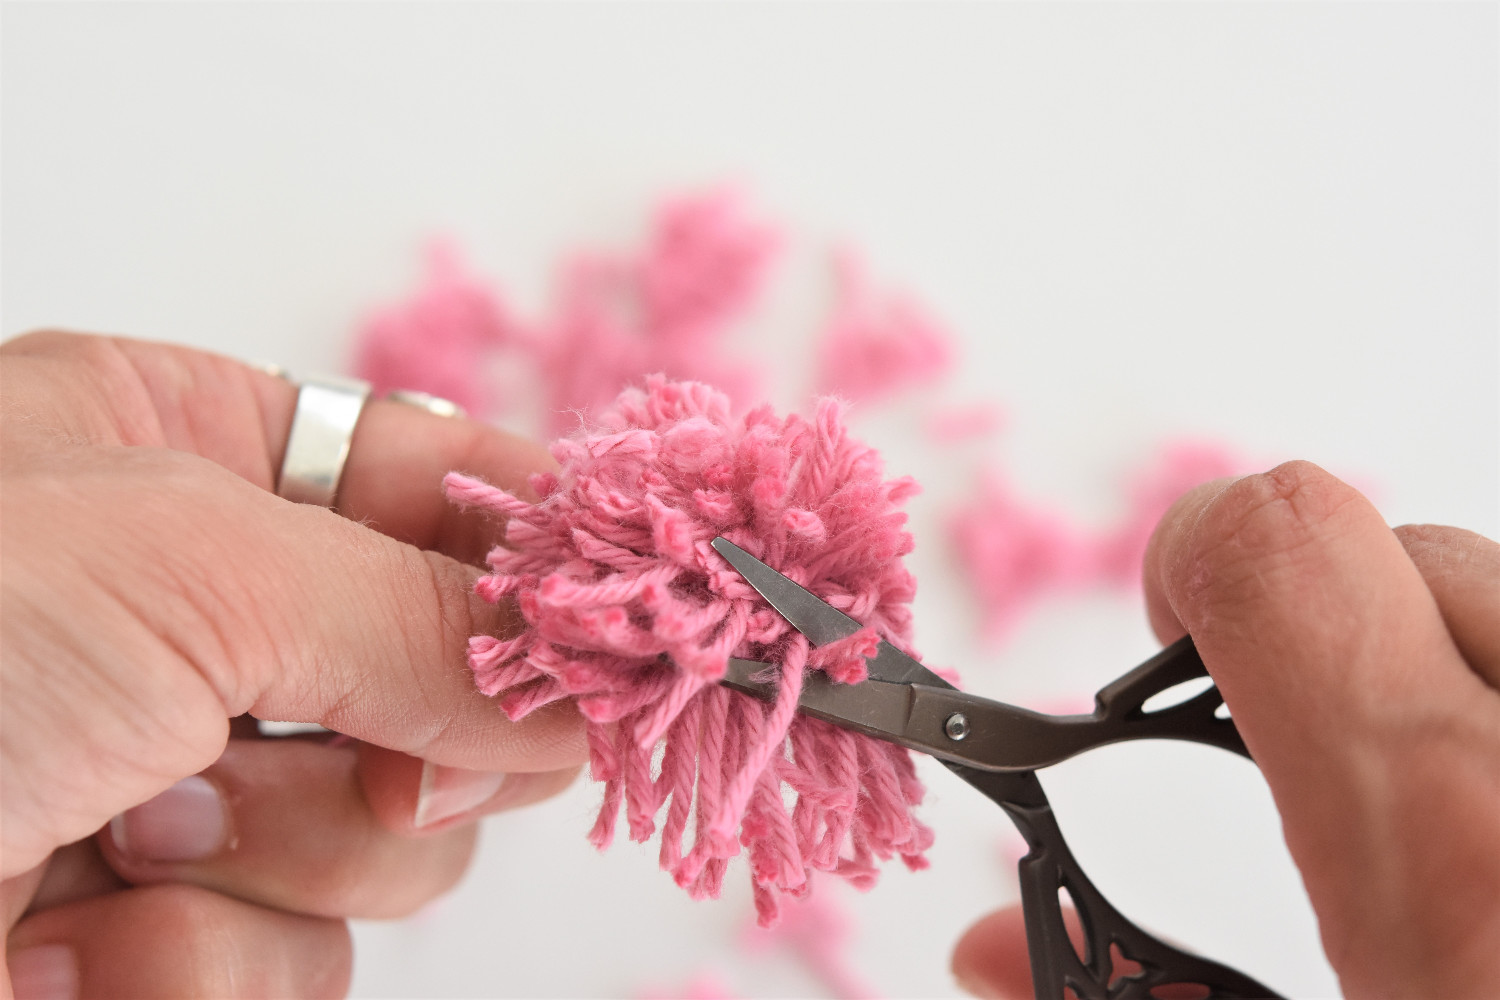
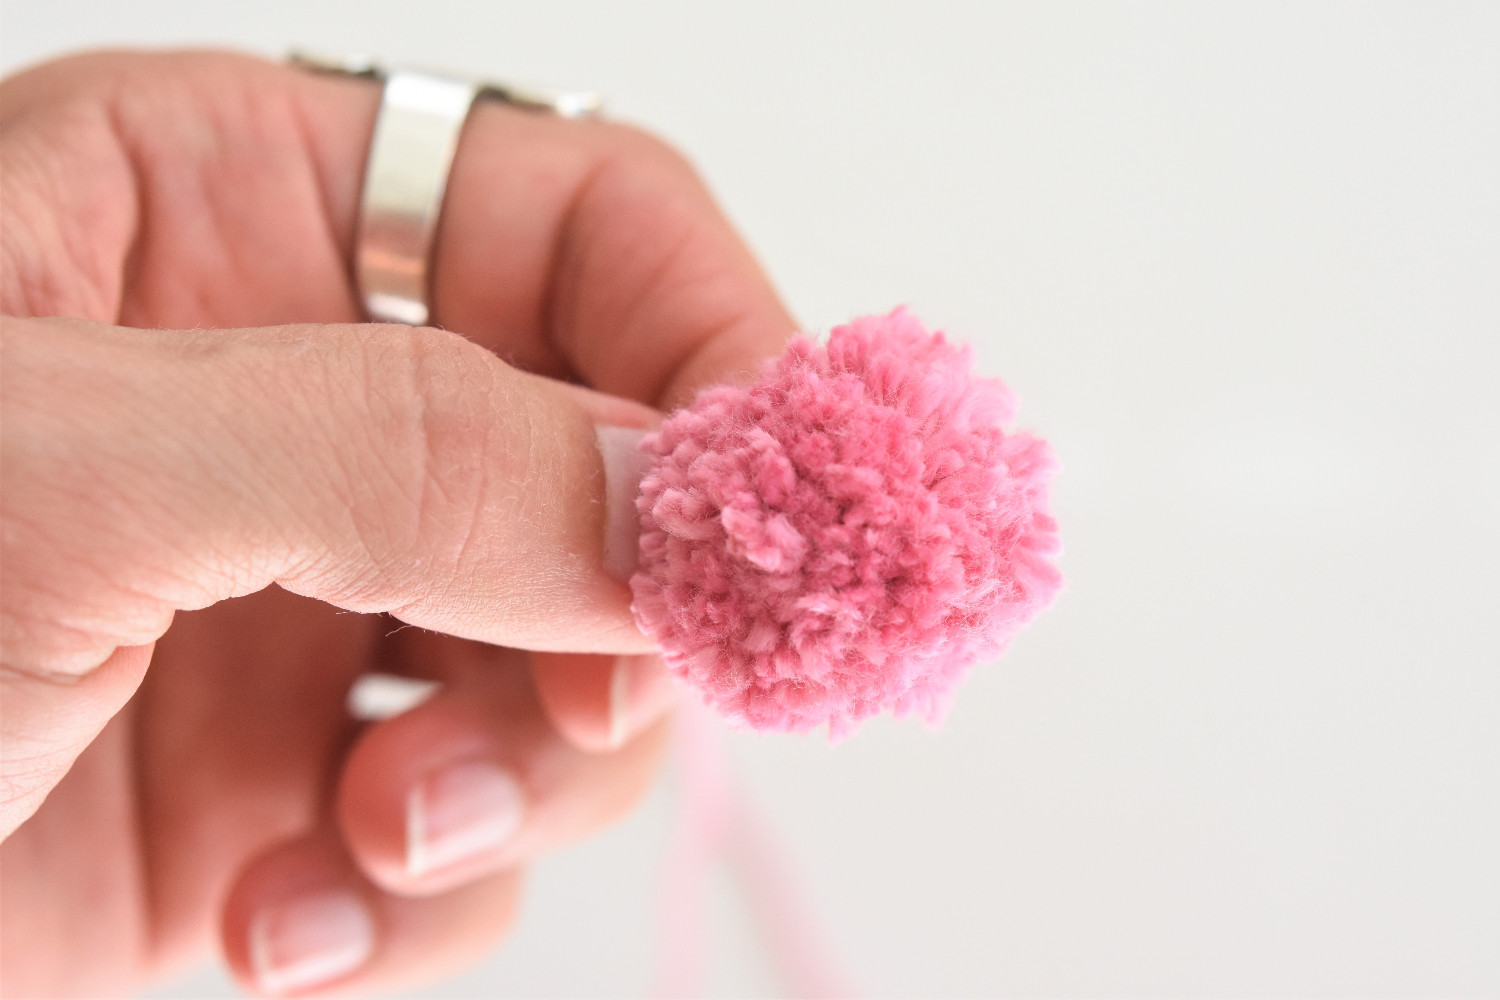
3. Now, take the wrapping off your fingers, cut the loops on both ends and fluff the pom-pom. Even it out with sharp scissors to make a nice round pom-pom.
And voila! You have the perfect little pom-pom!

I appreciate your free patterns but when I go to print them the picture of the cat, dog, etc. is not part of the printed pattern. I find it important to view the picture while I am putting the project together. Is there something I am doing wrong when I go to print the pattern but not getting the picture of the item?
I apologize, my free patterns are meant for online use, that`s why they don`t print out so well. If you buy my pdf patterns then those have many photos to help you through the making process.
I have been crocheting since I was 22 years old. I am now 68. I love crochet so much. Only yesterday I came across your site. I am making a dishcloth with a couple of different colors and needed advice on how to carry on the extra color without cutting the yarn off. I watched your video about using the two colors when making a project. I am a show and tell learner. I am so taken with your demonstration in the video, so easy to follow and the music is so soothing also. Many videos the presenter talks and talks. I really like your approach in teaching and I sent your site to my friend’s daughter so she can follow you also. Thank you for sharing your skills with us and in such a classy manner.
Thank you so much! This is the best feedback I could ever wish for. I´m so grateful for your words. My attitude is “straight to the point”. No bla-bla. I´m glad you appreciated it. And special thanks for mentioning the soothing music. It`s written by my husband and I love it too.
I absolutely love your books, your patterns are so well written, I loved making sabastian and mighty the robot, I would love to send a photo but don’t know how.
Thanks, Karen! I´m flattered to hear this! You can share the photo on Instagram and tag me @lilleliis_official. If you`re not an Instagram user then simply send me an email: lilleliis@gmail.com
Thank you for all these great helps but I am fine crocheting the body pieces but have a terrible time trying to neatly and securely attaching the head,barns,legs etc! I’ve looked at your assistance but not oh boy this is the toughest part! Any way to help me a but more to make neat toys? Thanks in advance
Sheila, I think you are searching for my tutorial about joining the pieces. You`ll find it here. Let me know if it helped you.